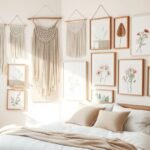
Feeling bored at home? Try fun projects like melted crayon art to make colorful designs or build a cardboard dollhouse using recycled boxesyou’ll feel like a mini architect! Organize your space by crafting a DIY bulletin board or jazz up old glass bottles with tissue paper for cool centerpieces. Ever made a slime stress ball or embroidered hoop art? These quick crafts keep your hands busy and your mind sharp. Stick around, and you might find your next favorite creative challenge.
Key Takeaways
- Create vibrant melted crayon art on canvas using crayons and a heat source for colorful, customizable designs.
- Upcycle glass bottles with tissue paper and Mod Podge for eco-friendly, decorative centerpieces or gifts.
- Craft a personalized jewelry holder from wood, wire mesh, or cardboard to organize and display accessories stylishly.
- Build a DIY rubber band guitar from a shoebox and rubber bands to explore music and decoration.
- Make fun kids’ crafts like bouncy balls, candy cane reindeer, or bubble snake makers for engaging activities.
Melted Crayon Art Ideas
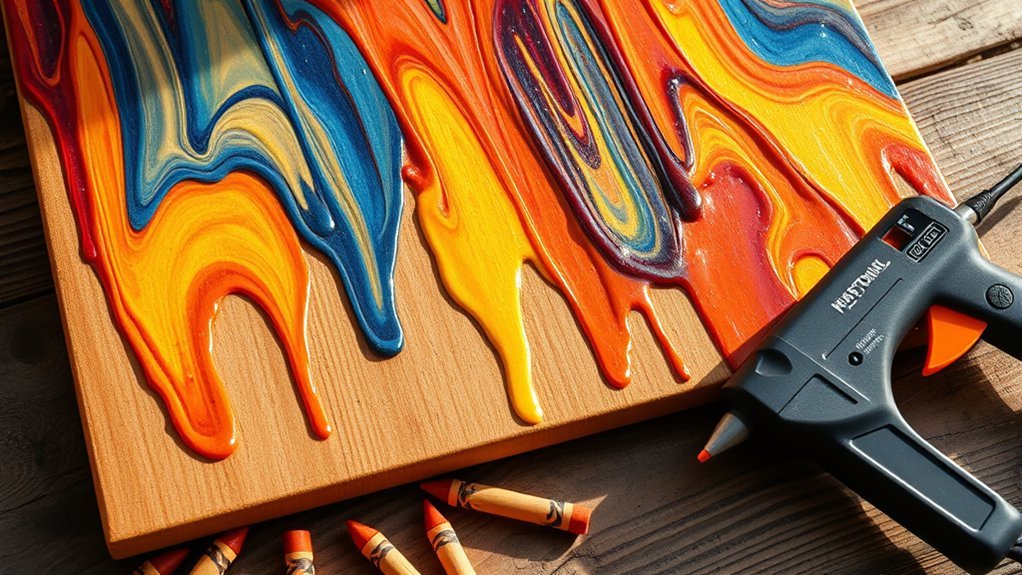
If you’ve got a pack of crayons and a blank canvas, you can make some cool melted crayon art at home. You just need a blow dryer or a hot glue gun to melt the crayons and create colorful drippy designs.
Its like painting with melted rainbows, and you can choose your favorite colors or patterns to customize your piece. This makes your artwork perfect for party decorations, adding a fun and unique vibe to any celebration.
Want to make shapes instead of drips? You can do that too, by controlling the heat and angle. Just follow a simple step-by-step guide to get the best results.
Its a neat way to turn boring crayons into eye-catching art, dont you think?
How to Make a Slime Stress Ball
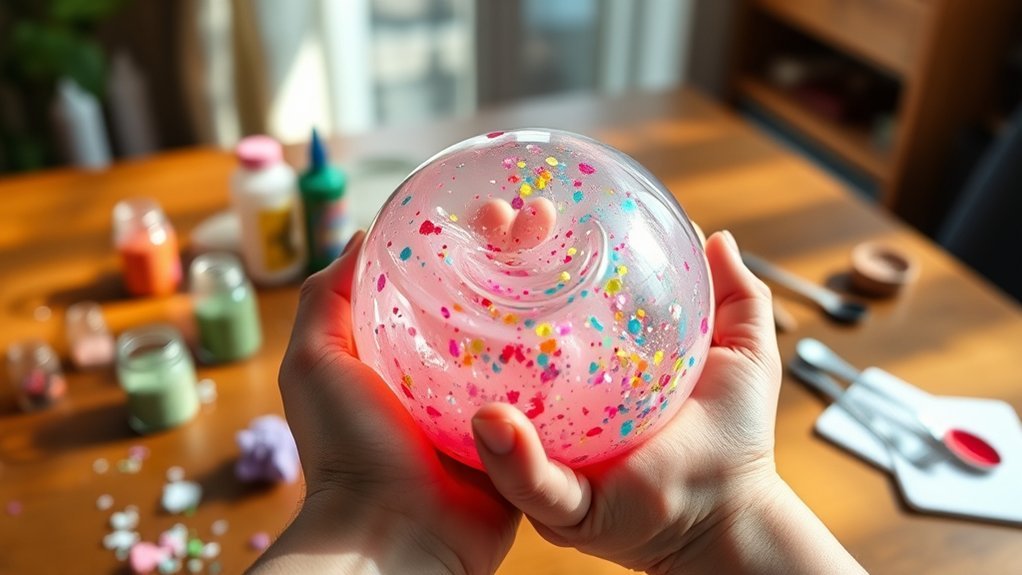
Making melted crayon art is a fun way to get creative, but if you want something you can actually squeeze, a slime stress ball is a cool next project.
First, mix glue, water, and borax until you get slime that feels just right to knead. Want to jazz it up? Try slime variations like adding glitter or colored glue.
Mix glue, water, and borax for perfect slimeadd glitter or color to make it pop!
Then, using balloon techniques, carefully funnel the slime into a balloon until its the size you want. Tie it off tight so it doesnt leak.
For extra texture, wrap the balloon in a fishnet stockingthis gives it a cool bubbling effect.
Ready for some stress relief? Squeezing this DIY slime stress ball can help you chill out when youre stuck at home, turning boredom into fun.
Crafting Glass Bottle Tissue Paper Centerpieces
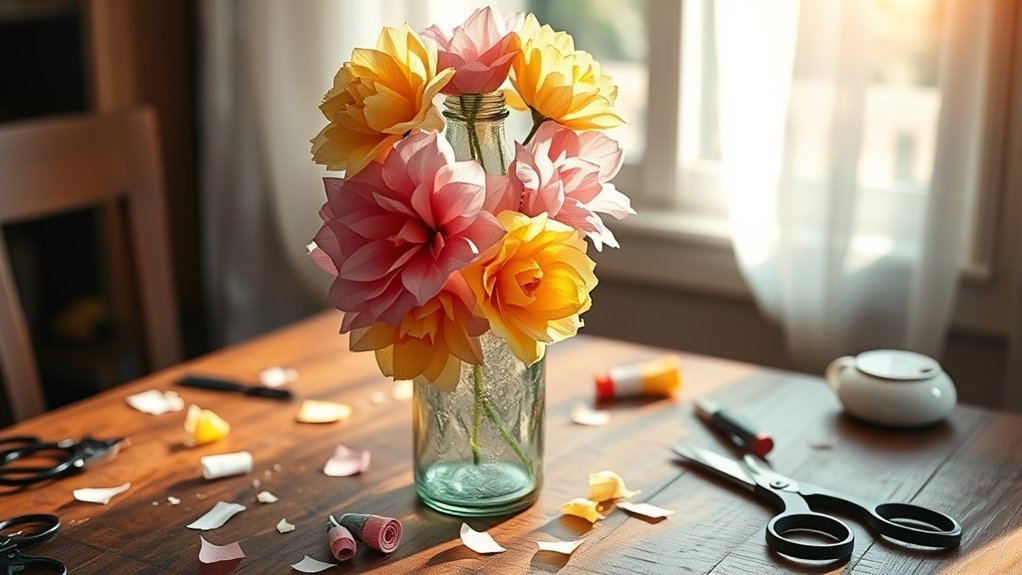
You can turn old glass bottles into cool tissue paper centerpieces with just a few simple steps.
Start with tissue paper techniques like wrapping or decoupaging using Mod Podge to stick colorful sheets onto your bottle.
Want to get creative? Add printed paper shapes like hearts or circles to personalize your design.
This glass bottle transformation doesn’t just look goodit’s a smart way to reuse materials and create eco-friendly decor.
These centerpieces work great as gifts or table decorations for any event, making your boredom productive and stylish.
Wondering how to avoid mess? Follow step-by-step instructions carefully, and you’ll get smooth, eye-catching results without frustration.
Ready to turn trash into treasure? Give this project a try and watch your old bottles shine!
Building a DIY Bulletin Board
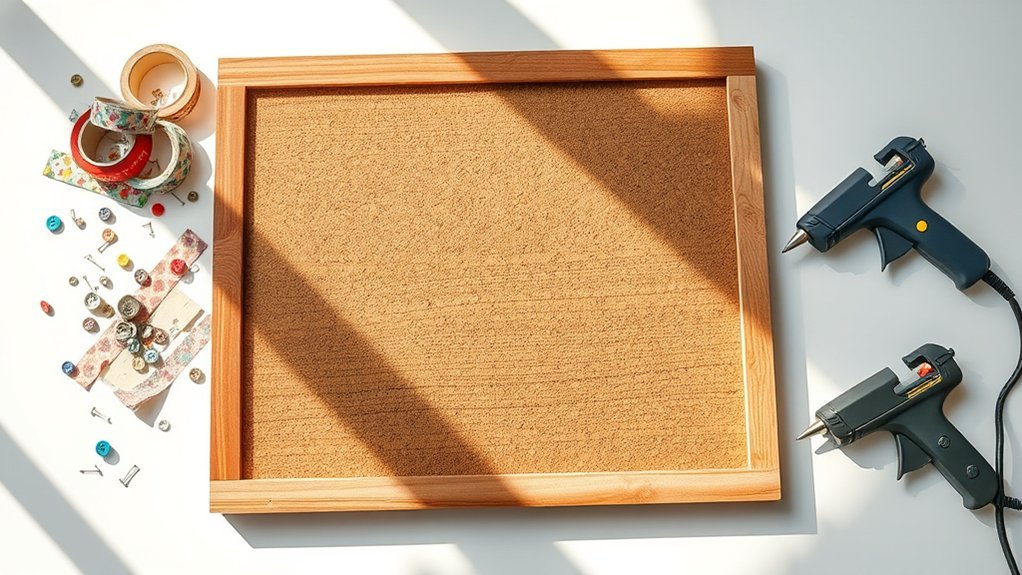
Three simple materialscardboard, fabric, and ribbonscan help you build a DIY bulletin board that’s both useful and stylish.
First, grab your bulletin board materials like scissors, pins or hot glue, and your chosen fabric. Cut the cardboard to a size that fits your space; think about where you want to keep it handy.
Next, cover the cardboard with fabric to personalize decor that matches your room. To organize notes, add criss-cross ribbons across the board; they hold papers without pins and add a neat look.
Need to keep track of reminders or photos? This setup makes organizing notes easy and fun.
Ready to make your own? It’s like giving your walls a practical makeover that’s all youno boring bulletin boards here!
Creating a Cardboard Dollhouse
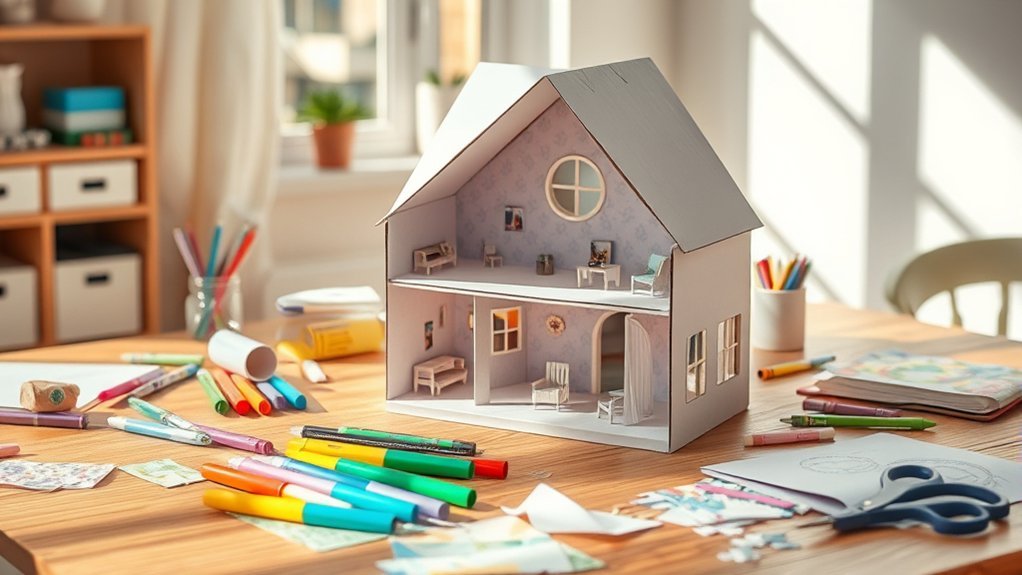
If you enjoyed customizing a bulletin board, building a cardboard dollhouse offers another fun way to get creative with simple materials.
Start by recycling a shoebox or moving box for your cardboard dollhouse design. Cut out windows and doors using scissors or a razor knifecareful not to lose a finger!
Begin your cardboard dollhouse by repurposing a shoebox and carefully cutting out windows and doors.
Decorate inside and out with acrylic paint, magazine cutouts, or fabric scraps to make it truly yours. For miniature furniture crafting, try folding and gluing small cardboard pieces or repurposing tiny household items.
Use hot glue or tape to secure walls and floors, so your dollhouse stays sturdy during play. Want more rooms? Stack boxes or add dividers.
Don’t forget, dollhouse decoration techniques like layering textures can really boost the look with minimal effort. Ready to jump in?
Sewing a Unique Pencil Bag
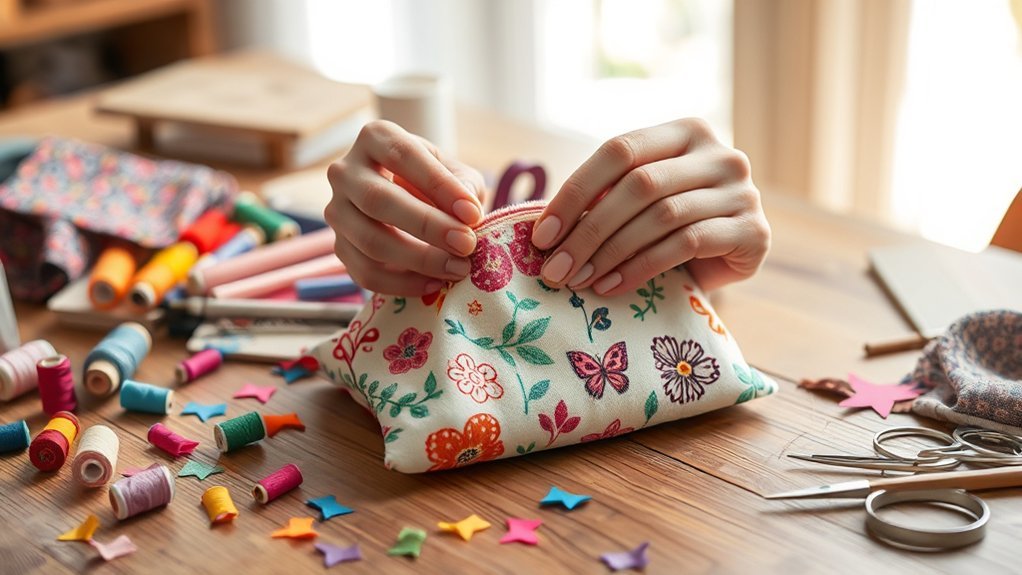
Although sewing might seem tricky at first, making a unique pencil bag is a simple project that anyone can try. Start with fabric selection tipschoose sturdy, fun fabric that fits your style.
Then, use a sewing techniques guide to help you cut two equal rectangles and stitch them together, leaving the top open. Want it secure? Add a zipper, buttons, or Velcro.
Dont forget pencil bag embellishments like patches or embroidery to show off your personality.
Heres a quick how-to list:
- Pick your fabric carefully.
- Cut two rectangles the same size.
- Sew them together with strong stitches.
- Add your favorite closure and decorations.
Ready to give it a shot? Its easier than you think!
Decorating Jars With Decoupage
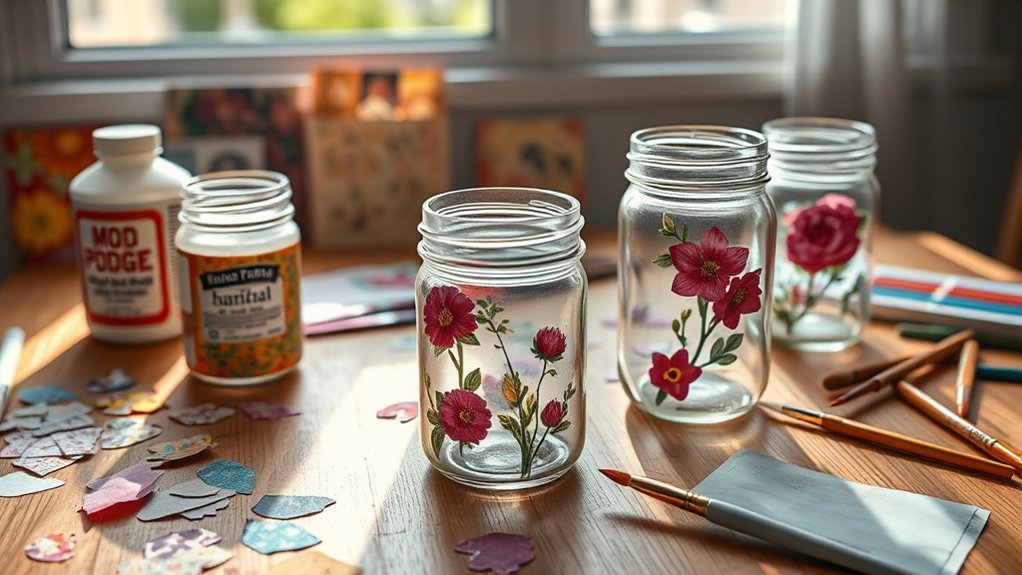
Decorating jars with decoupage is a fun way to turn plain glass into something special, kind of like giving your old jars a new outfit. You can use simple decoupage techniques by gathering creative materials like paper scraps, fabric pieces, and even old magazine images.
First, paint a layer of decoupage glue on the jar, then stick your cut-outs on it. Want your design to last? Apply 2-3 layers of glue over the top to seal everything in. Think of it like putting on a clear raincoat for your jar decoration.
Dont worry about making it perfectthis DIY lets you experiment and personalize your jars however you want. Ready to give those glass jars a stylish makeover? Grab your supplies and start crafting!
Folding Paper Rings for Jewelry
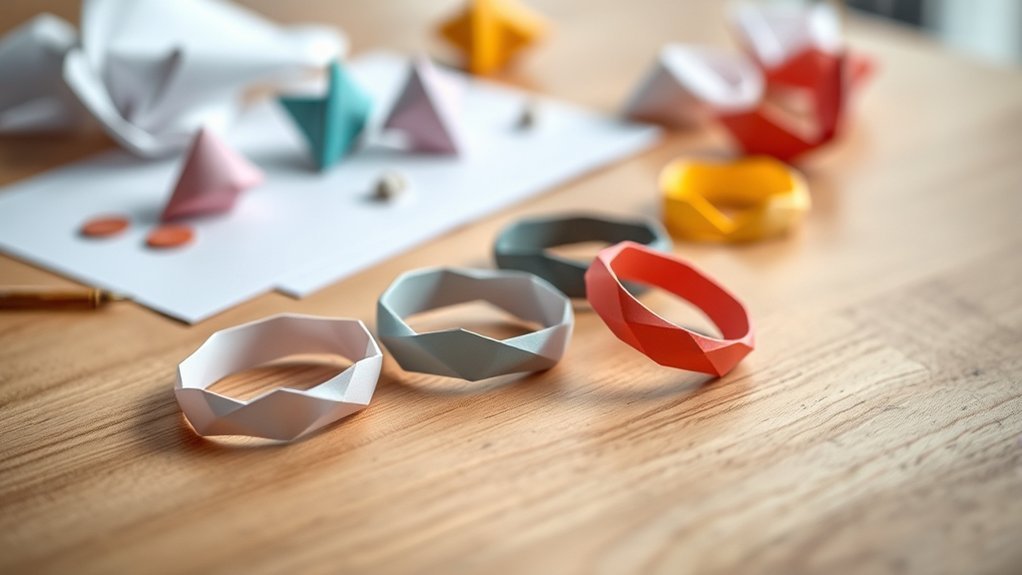
Making paper rings is a cool way to turn simple strips of colored paper into fun jewelry you can wear. First, cut strips about an inch wide, then fold them using paper ring techniques like origami or wrapping. Secure the ends with glue or tape so your ring holds up.
Want to make it pop? Try these steps:
- Pick color combinations that match your style.
- Fold the strips into shapes like butterflies or simple loops.
- Use embellishment ideas like glitter, beads, or patterned paper for flair.
- Stack different sizes and colors for a unique look.
Ever thought paper could be your new bling? Its cheap, easy, and you get to wear your creativity right on your fingers!
Enhancing Lampshades With DIY Decorations
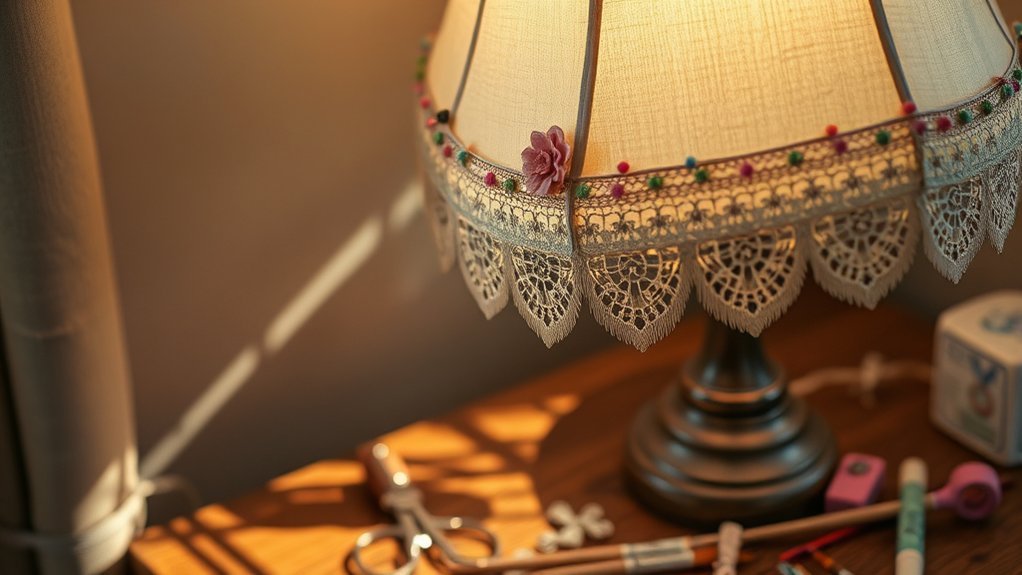
Anyone can turn a plain lampshade into something eye-catching with just a few simple materials and ideas. You can try shade painting ideas, add decorative trim options, or use fabric to cover the shade. Dont forget lamp design techniques like layering lace or ribbon for texture. Painting the inside and outside adds more style and changes your rooms vibe. Need some inspiration? Check this out:
| Technique | Material | Effect |
|---|---|---|
| Shade painting | Acrylic paint | Bold colors, patterns |
| Decorative trim | Lace, ribbon | Adds texture, depth |
| Covering with fabric | Patterned cloth | Matches room decor |
Whats stopping you? Grab some paint or trim, and make your lampshade pop!
Designing Personalized DIY Mugs
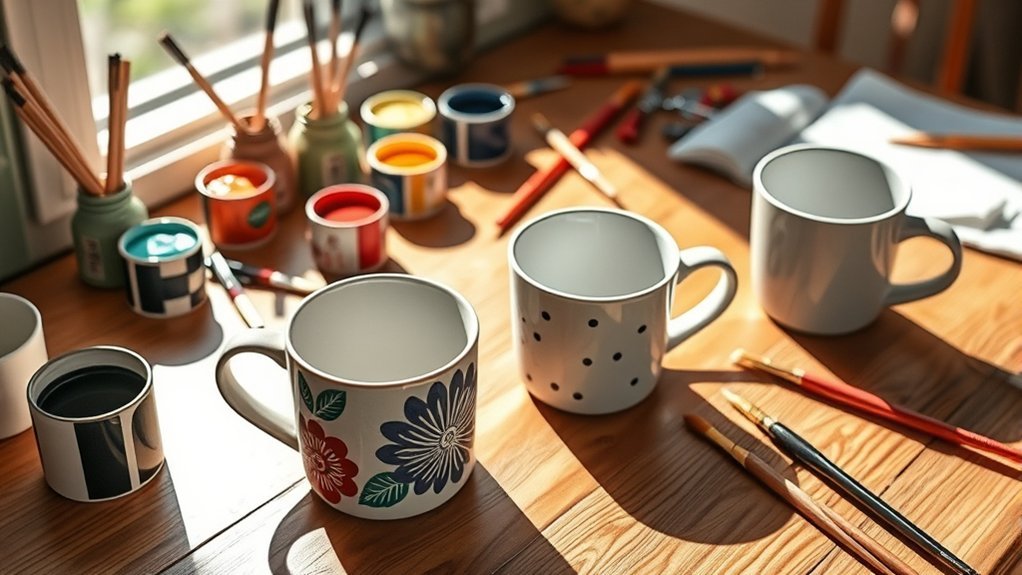
Wondering how to turn a plain mug into something that feels truly yours? Designing personalized DIY mugs is easier than you think. You can use simple mug painting techniques like oil-based paint pens or acrylic paint.
Transform a plain mug into a personal masterpiece with easy painting techniques like oil-based pens or acrylics.
Heres a quick guide to get started:
- Choose your custom design ideasanything from doodles to your favorite quote works.
- For a neat image, print it, transfer with packing tape, then paint around it.
- Apply sealant application tipsseal your mug well to keep your art safe.
- Let the paint fully cure before washing, so your design doesnt smudge or fade.
This project keeps boredom at bay while giving you a cool, functional mug thats uniquely yours. Ready to try?
Folding Lucky Paper Stars
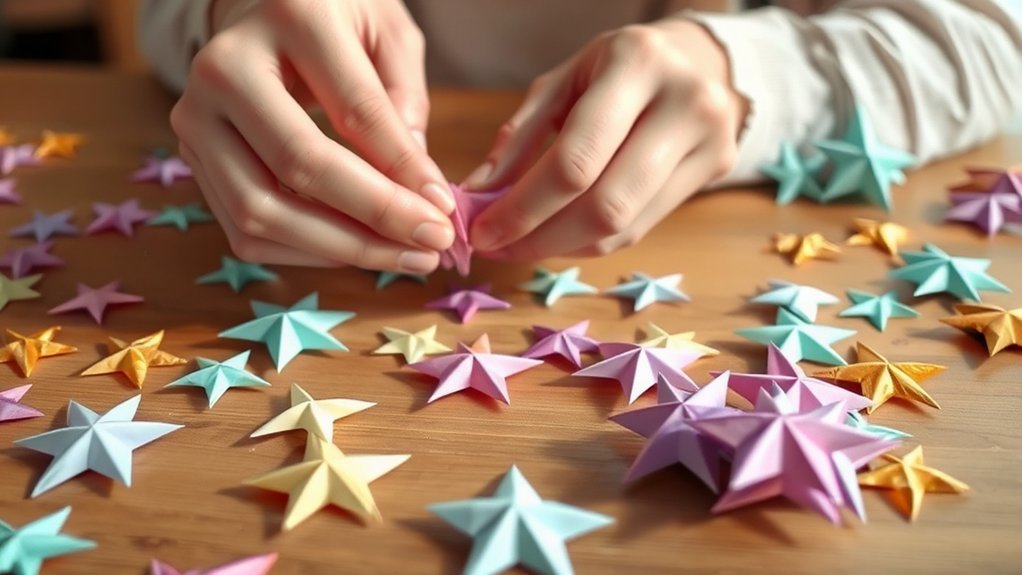
If youve got some paper strips handy, folding lucky paper stars is a fun way to pass the time and create something cool. Start with strips about 1 cm wide and 20 cm long. Use paper folding techniques by forming a hexagon, tying a knot, then folding the strip around it to shape star points. Puff the corners for that 3D look. Want star decoration ideas? You can display these stars in jars or string them up for parties. Heres a quick guide with crafting tips:
| Step | Action | Tip |
|---|---|---|
| 1 | Cut strips | Use colorful paper |
| 2 | Make hexagon, knot | Keep knot tight |
| 3 | Fold points around | Fold evenly |
| 4 | Puff corners | Use fingers gently |
Try it outits easier than you think!
Constructing a Rubber Band Guitar
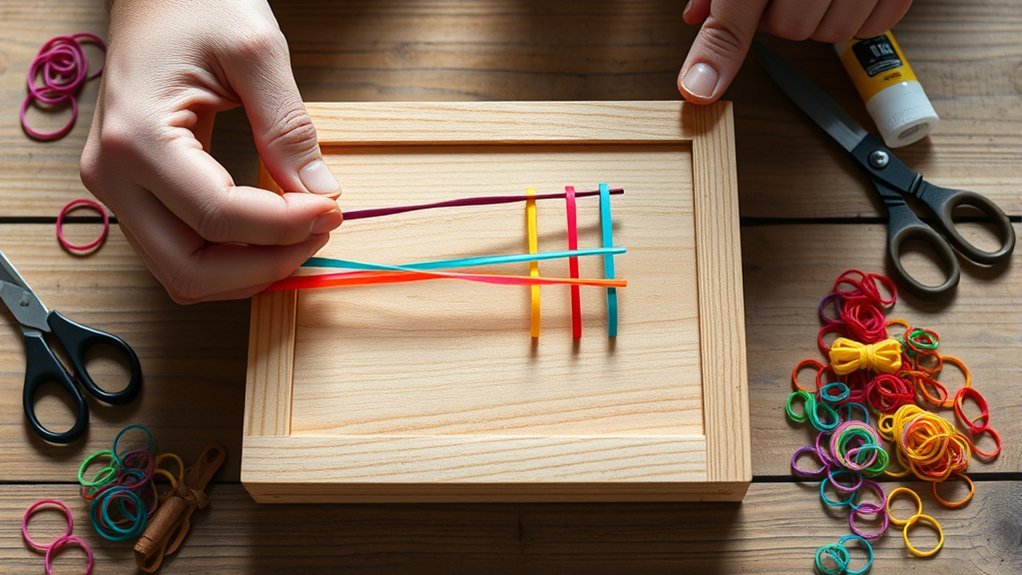
Grab a shoebox or a paper plate, and you’ll have the base for your rubber band guitar. This simple project uses shoebox materials and rubber bands to create sounds you can actually play. Heres how to start:
- Cut a hole in the center of your shoebox or plate.
- Stretch 4-6 rubber bands around the hole, making sure theyre tight enough to create rubber band sounds.
- Decorate the outside with markers or colorful paper to make it yours.
- Test strumming to explore different notes and rhythms.
Isnt it cool how a few rubber bands and a box can turn into a mini music adventure? This is a fun way to plunge into music exploration without needing fancy instruments.
Plus, you get to play and create at home!
Making a Jewelry Holder
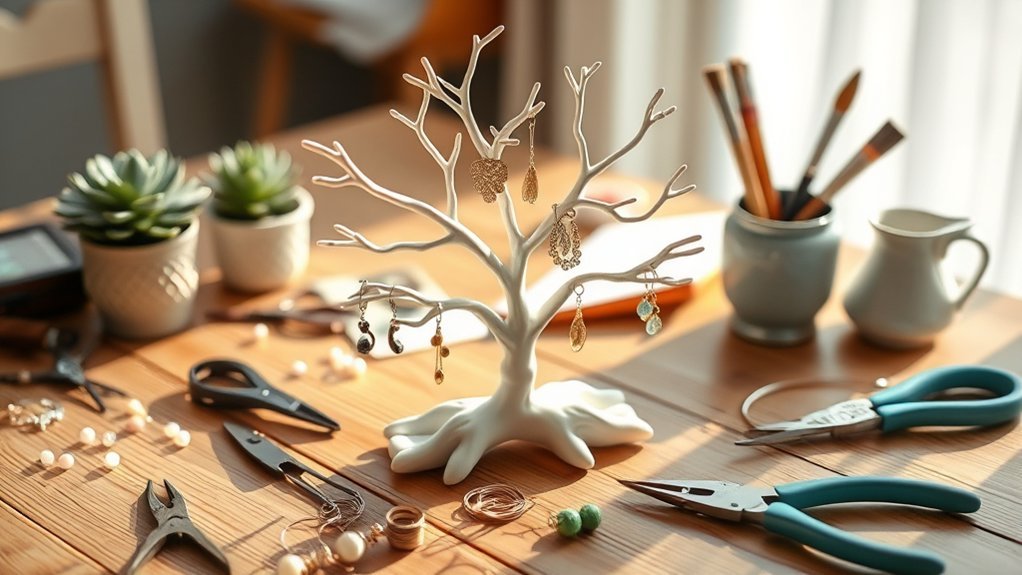
While organizing your jewelry might seem like a small task, making your own jewelry holder can actually be pretty handy and fun.
Organizing your jewelry can be simple and enjoyable when you create a custom holder that fits your style.
You can try different jewelry organization designs using materials like wood, wire mesh, or cardboard. Hooks or small nails work great for hanging necklaces and bracelets, keeping them tangle-free and easy to grab.
Want to add a personal touch? Paint your holder or cover it with decorative paper to match your room’s vibe.
Ever thought about repurposed frame displays? Old picture frames or corkboards turn into unique holders, adding character to your space.
Whether you prefer a wall-mounted setup or a tiered stand, these personalized holder ideas help you keep your jewelry neat and stylish.
Ready to give it a shot?
Crafting a DIY Jack-in-the-Box
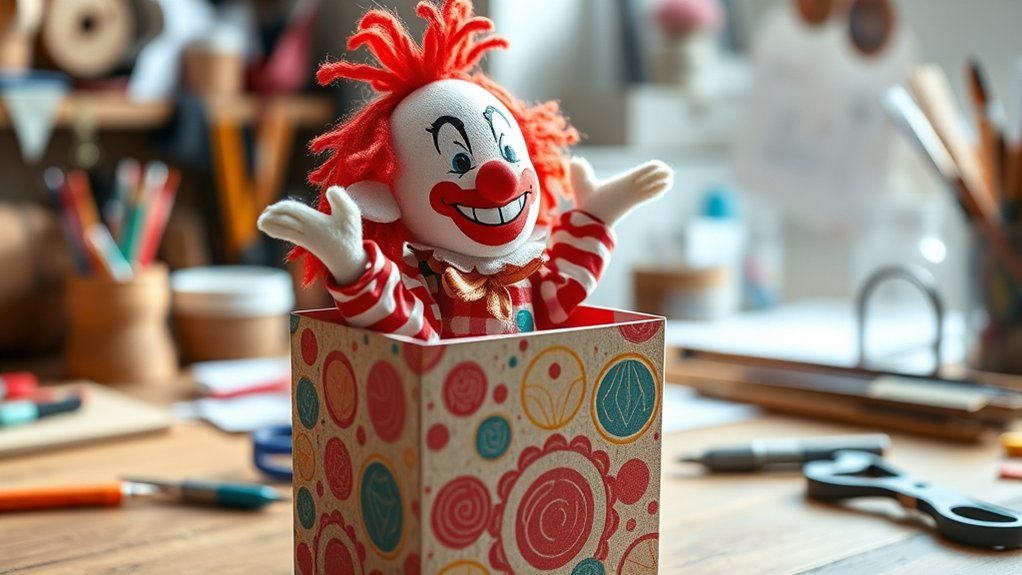
Making a DIY Jack-in-the-Box uses a sturdy box, a spring, and a fun figure that jumps out when you open the lid.
Youll work with Jack in the box mechanisms, combining springs and levers for that classic pop-up surprise.
Heres how you get started:
- Pick a sturdy box to serve as your base.
- Attach a spring securely to your fun character theme.
- Build a simple lever that triggers when the lid lifts.
- Decorate the box with colorful stickers, paint, or fabric for decorative box designs.
Want to add a little extra?
Try slipping in a tiny music box to play a tune. Its like your own mini carnival toy, made by you, no fancy tools needed.
Ready to give it a shot?
Creating a No-Sew Pillow Cover
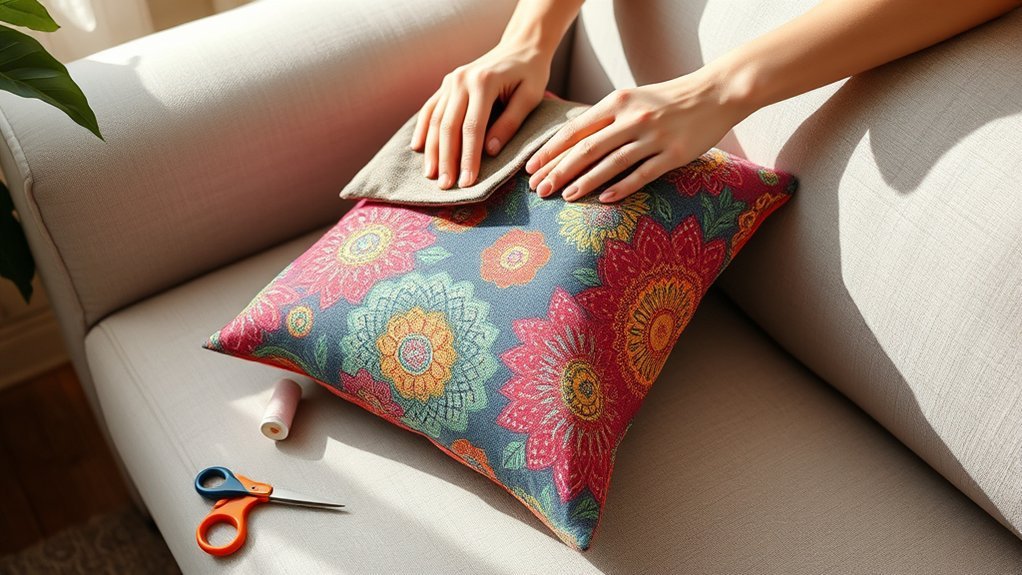
After building that playful Jack-in-the-Box, you might want to add some cozy style to your space with a no-sew pillow cover.
First, pick fabric choices that suit your room, making sure the fabric is 1-2 inches bigger than your pillow insert. Cut it cleanly into a square or rectangle, depending on your pillows shape.
Then, fold the edges inward and secure them using fabric glue or iron-on adhesive tapeno sewing needed.
Dont forget to add decorative elements like tassels, buttons, or fabric paint to make it uniquely yours.
Once the glue dries, slip in your pillow insert, and voilà! Youve got a stylish, comfy pillow thats handmade but hassle-free.
Easy, right? Ready to try it out?
Assembling DIY Sensory Bottles
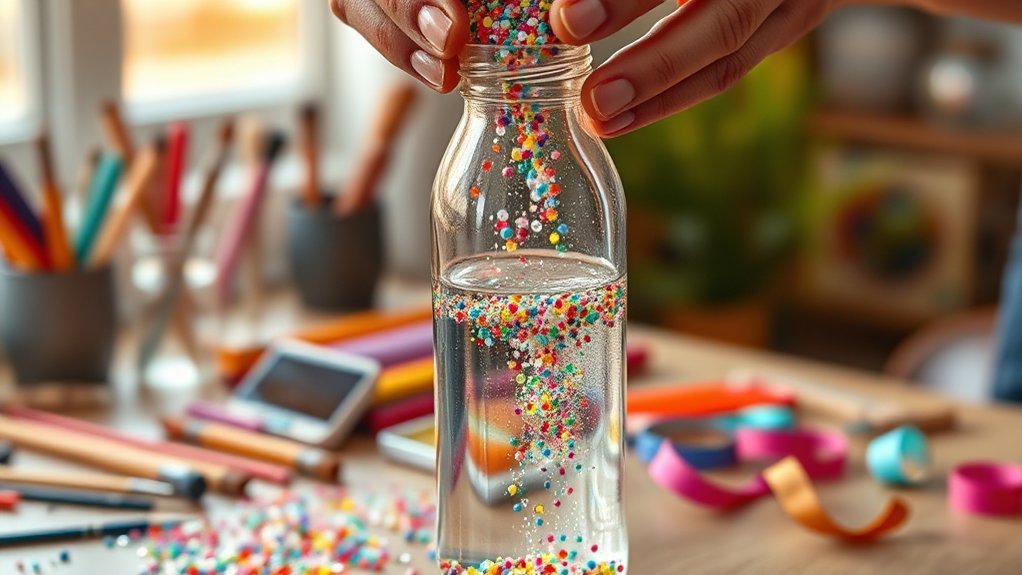
If you want a simple project thats both fun and calming, assembling DIY sensory bottles might be just the thing. You start with a clear bottle and fill it with water, glitter, beads, or other small objects.
Adding glycerin or clear glue thickens the liquid, creating a soothing, calming glitter movement. To make it special, pick personalized bottle materials and sensory bottle themes like ocean waves or space stars.
Add glycerin or glue to thicken the liquid, creating mesmerizing, calming glitter movement for your sensory bottle.
Heres how to get going:
- Choose your theme and gather colorful materials.
- Fill the bottle with water and your chosen items.
- Add glycerin or glue for slow, mesmerizing movement.
- Seal the bottle tightly to avoid spills.
Its like making a tiny, calming snow globe you can shake anytime.
Crafting Felt Car Freshies
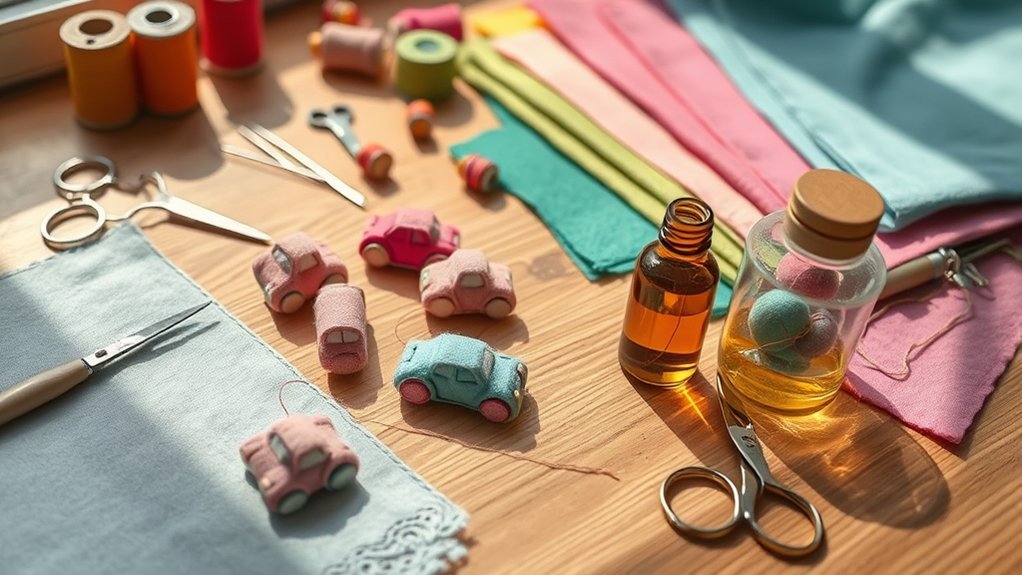
One fun way to freshen up your car is by crafting felt car freshies, which are basically small, scented decorations you hang inside.
Start by picking your favorite felt color combinations; try layering two or three shades to make your freshies pop, like a mini rainbow or a cozy forest vibe.
Then, cut your shapes and choose an essential oil selection that suits your moodlavender for calm, or citrus for a wake-up call.
Don’t forget to poke a small hole at the top so you can use hanging techniques like tying a string or clipping it on.
After adding the scent, let your freshies dry completely. Think of it like seasoning your felt; this step locks in the fragrance so your car smells great longer.
Easy, right?
Building a Paper Clock

Crafting felt car freshies gave you a chance to play with colors and scents, so now lets try something that ticks in a different way: a paper clock.
Crafting felt freshies was colorful and scentednow, let’s make a paper clock that ticks with style.
Youll need paper clock designs that catch your eye, scissors, a ruler, and a clock mechanism kit. Ready? Heres how to start:
- Cut a circular clock face and mark the hours with numbers or cool designs.
- Make clock hands from contrasting paper and attach them with a brad fastener.
- Carefully complete the clock mechanism installation through the back.
- Add personalized clock embellishments like stickers or patterns to match your space.
Think of it as creating art that tells time. Feeling like a clockmaker yet?
Making a Hanging Cloud Decoration
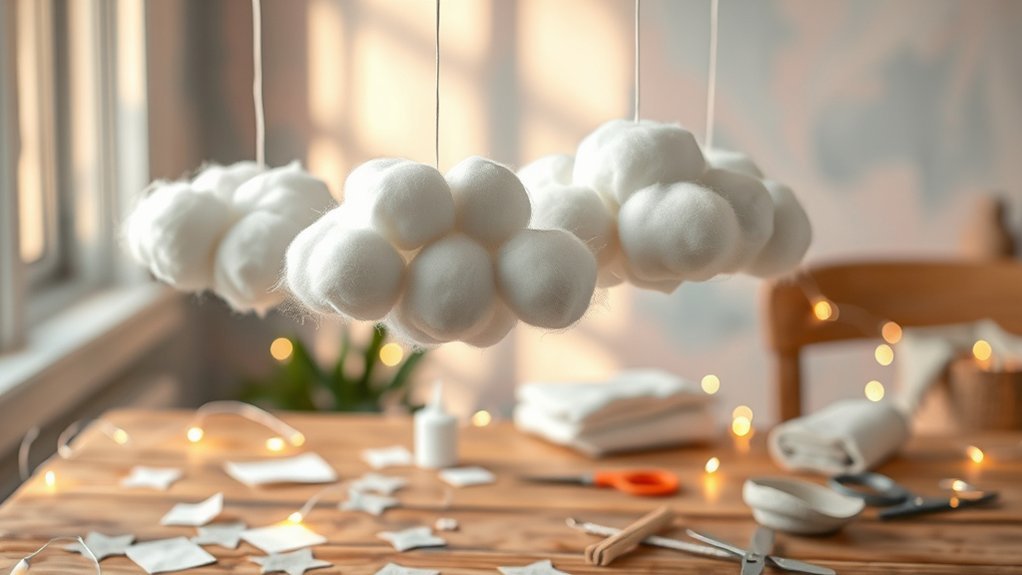
When you want to add a soft, dreamy touch to your room, making a hanging cloud decoration is a fun project to try. Using simple cloud decoration techniques, you shape cotton batting into fluffy clouds, securing them to a wire frame or embroidery hoop with hot glue. You can even weave LED fairy lights inside for a glowing effect. Wondering what materials youll need? Check out this crafting materials guide:
| Material | Purpose |
|---|---|
| Cotton batting | Makes the fluffy cloud |
| Wire frame/hoop | Holds the clouds shape |
| Hot glue | Secures batting to frame |
| Fishing line | Hangs the cloud decoration |
Hang it in your room for whimsical room decor that brightens any space, like a nursery or bedroom. Want to add raindrops? Clear beads or ribbons work great!
Creating a Bouncy Ball Without Borax
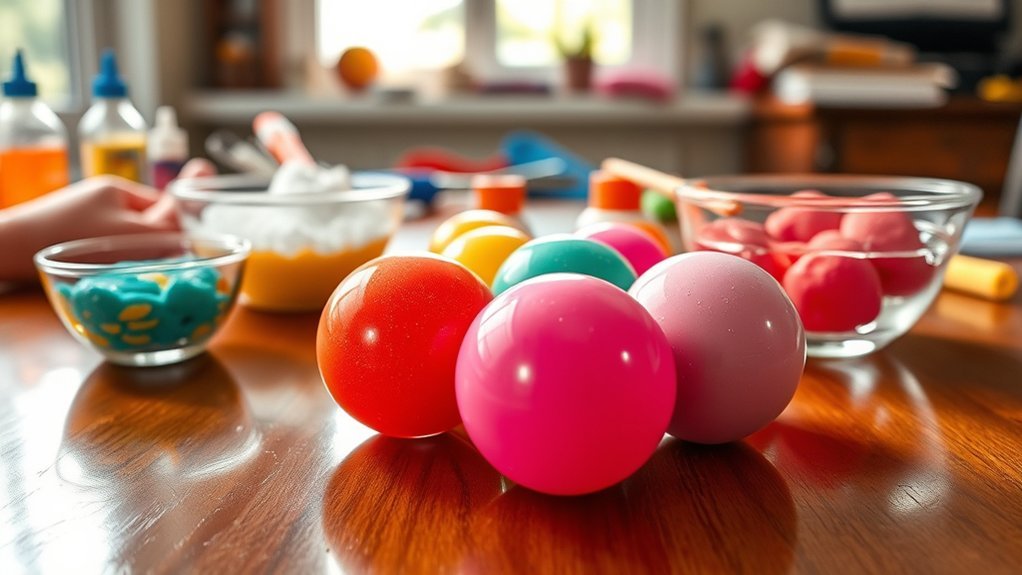
If you enjoyed making that fluffy cloud decoration, you might like trying something a bit more hands-on, like creating a bouncy ball without borax.
You’ll need some simple bouncy ball materials: equal parts glue and corn starch, plus food coloring to spice things up.
Heres how you do it:
- Mix the glue and corn starch well until it feels like dough.
- Add a few drops of food coloring for cool color variations.
- Roll it tight into a ball; the tighter, the bouncier.
- Let it dry for 24 hours to improve elasticity and durability.
Once dry, try some elasticity testing by bouncing it on different surfaces.
Ready to see how high it can go?
Designing a DIY Can Pencil Holder
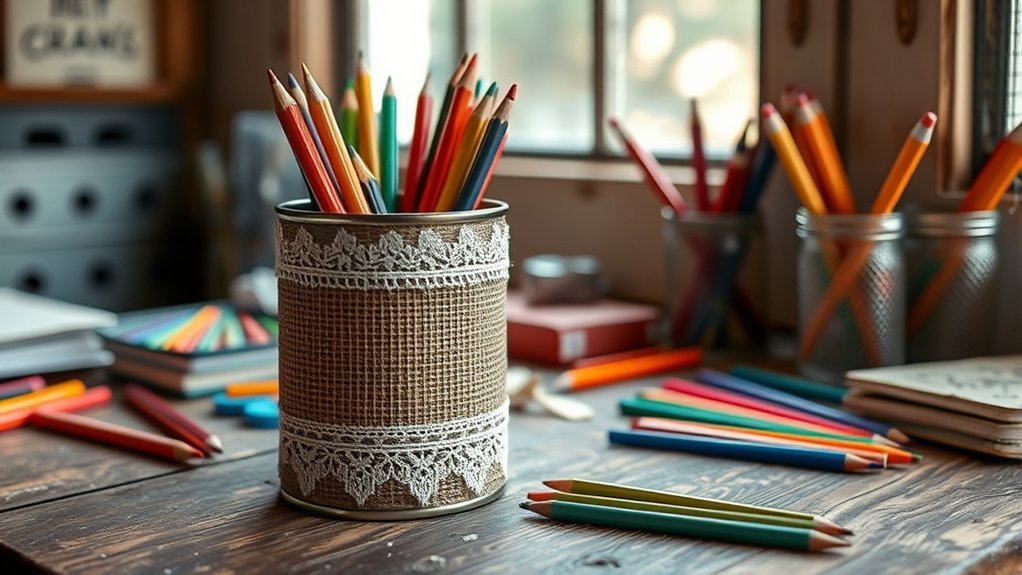
A simple empty tin can can quickly become a cool pencil holder with just a bit of effort and creativity.
Start by upcycling tin cansclean them well and remove labels, then sand any sharp edges so you dont poke yourself.
Begin by cleaning and prepping your tin cansremove labels and smooth sharp edges for safe crafting.
Next, use decorative painting techniques like colorful paints or washi tape to give it a fresh look that fits your room.
Want to get fancier? Add stickers, beads, or decoupage with glue to spice things up. Think of it like dressing up a plain outfit to match your style.
Once dry, fill your DIY pencil holder with pens, pencils, and other tools, making organizing desk supplies way easier.
Who knew tidying up could look this cool, right? Ready to give your desk a makeover?
Making Homemade Chalk
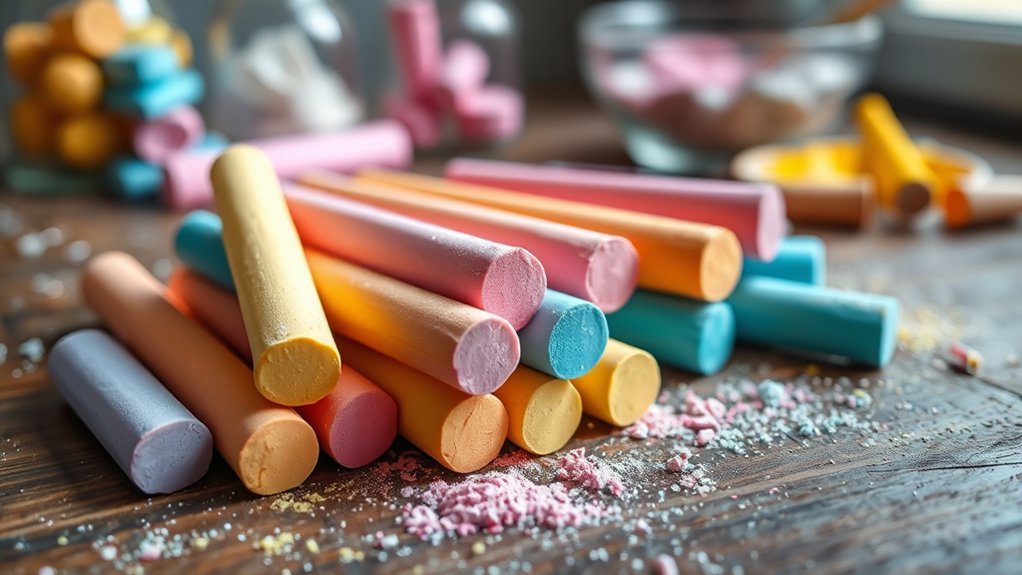
Although making your own chalk might sound tricky, it’s actually pretty simple and fun to try at home. You only need plaster of Paris, water, and food coloring to get started.
Heres how you do it:
- Mix equal parts plaster of Paris and water until smooth.
- Add a few drops of food coloring to create your favorite chalk colors.
- Pour the mixture into different mold shapes, like ice cube trays or fun silicone molds.
- Let it dry for 24 to 48 hours until fully hardened.
This eco friendly crafting project lets you customize chalk colors and shapes easily. Plus, its a neat way to reuse materials and avoid buying store-bought chalk.
Ready to draw on your sidewalk with your own colorful creations?
Crafting a Bubble Snake Maker

Making your own chalk was a neat way to get creative, but now lets switch gears and make something thats just as fun, but a bit more bubbly.
To craft a bubble snake maker, grab a plastic bottle and cut off its bottom. Stretch a sock over the open endthink of it as your bubble wand.
Mix water with dish soap to create your bubble solution, then dip the sock-covered end in it, making sure its soaked. Blow gently into the bottles mouth, and watch long, snake-like bubbles form.
Want to spice it up? Try bubble solution variations or tweak your blowing technique for different bubble shapes experimentation. Perfect for some outdoor bubble fun, right?
Ready to give it a shot and see what bubbly creatures you can make?
Weaving a Handmade Rope Basket
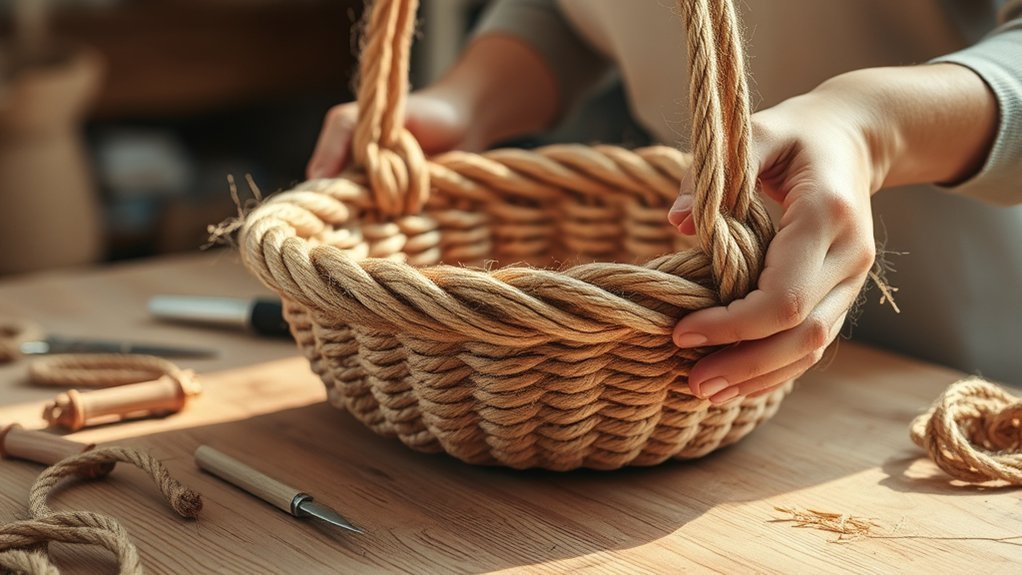
Three key steps will help you weave a sturdy handmade rope basket that looks great and holds up well.
Start by choosing a strong rope like cotton or jute, then coil and stitch it tightly to form the base.
Use rope basket techniques, like continuous coiling, to build the sides by stitching each new layer to the last.
Want to personalize it? Try color incorporation ideas, such as dyed ropes or fabric strips woven in for a pop of fun.
Finally, finish by trimming excess rope and add decorative elements suggestions like handles or beads.
Ready to give it a go? Think of weaving this basket like making a giant, cozy rope snail shell that doubles as storage. Its practical and a bit artsy too!
To make your project even better for the environment, consider using eco-friendly materials that align with sustainable home organization practices.
Constructing a Homemade Pop It Fidget Toy
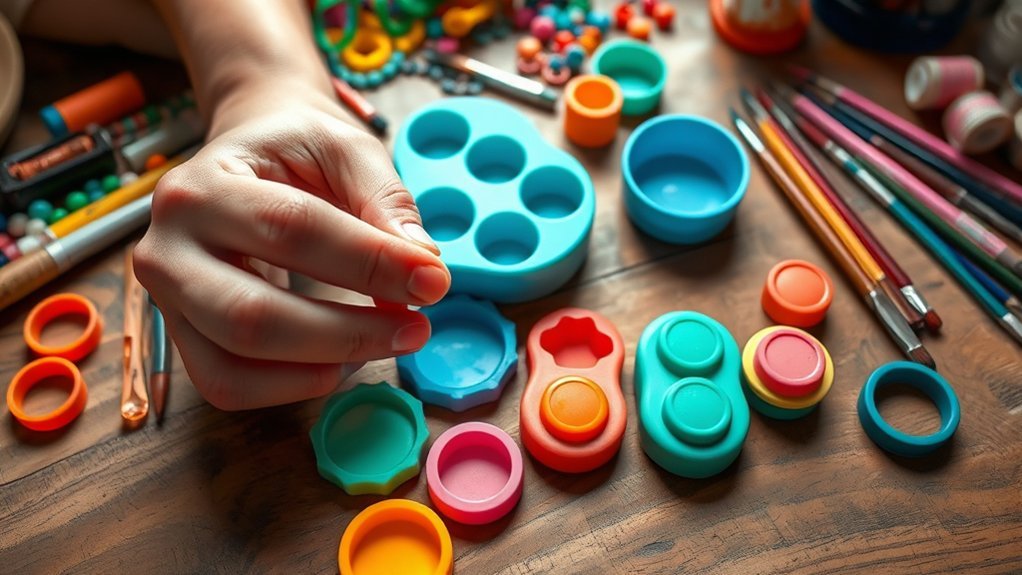
You can build a homemade Pop It fidget toy using simple materials like silicone molds or bottle caps, which act as the popping bubbles. If you choose bottle caps, use a hot glue gun to fix them evenly on a base. For a cooler version, try silicone mold techniques with resin mixing tips: mix clear epoxy resin with colorants and pour into molds. Add glitter or beads before it sets to customize your fidget toy uniquely. Let it cure fully to avoid sticky fingers!
| Step | Tip |
|---|---|
| Using silicone molds | Pour resin slowly to avoid bubbles |
| Resin mixing | Stir gently for even color |
| Customizing fidget toys | Add glitter for sparkle |
Got your glue gun ready? Lets pop to it!
Creating a Candy Cane Reindeer
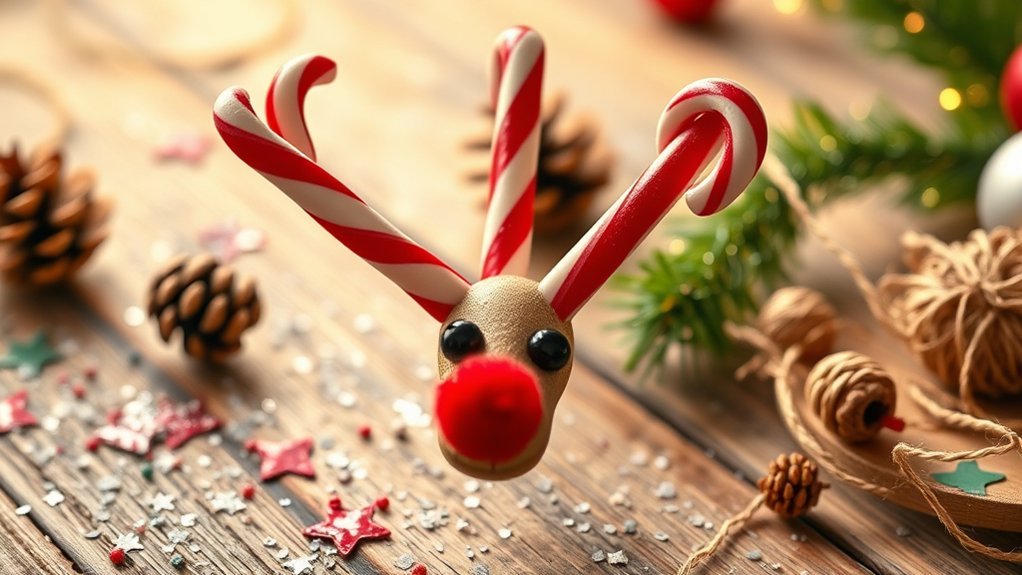
Even if you’ve never crafted before, assembling a candy cane reindeer is pretty straightforward and fun.
Crafting a candy cane reindeer is easy and enjoyable, even for beginners looking to add festive charm.
This project combines candy cane decorations with festive craft ideas to brighten your space or create unique holiday gift making.
Here’s how you can do it:
- Use two candy canes for the body and legs, positioning them carefully so your reindeer stands.
- Attach a brown pom-pom for the head and glue on googly eyes to make it lively.
- Add a small red pom-pom or bead for the noseRudolph vibes, right?
- Cut brown pipe cleaners into antlers, bend them into shape, and fix them on top.
Doesn’t this sound like a neat, simple way to make your holidays sweeter? Grab your glue!
Crafting Ceramic Spoons
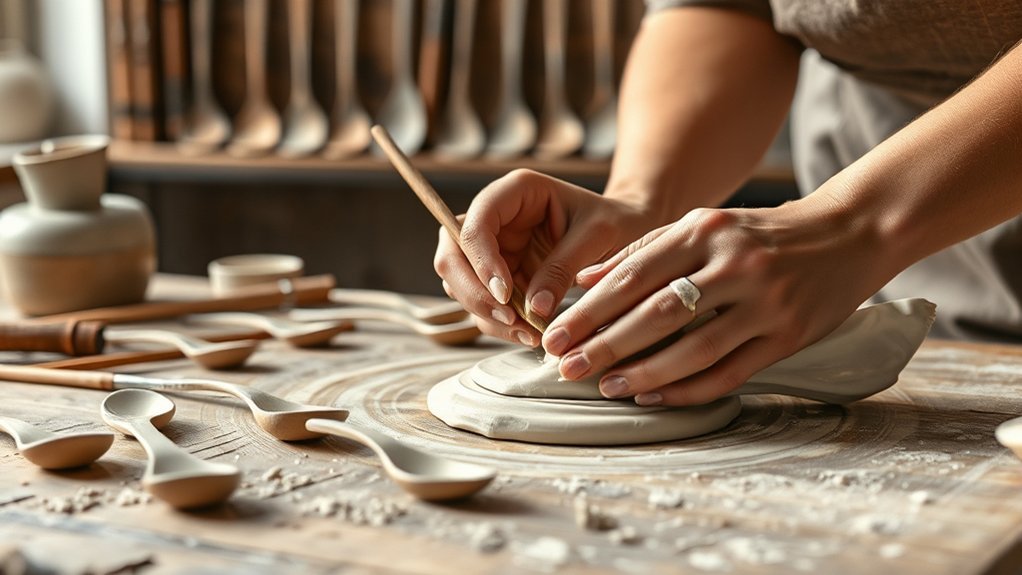
Switching from candy cane reindeer to something a bit different, crafting ceramic spoons offers a fun way to make useful art.
Youll start with air-dry or oven-bake clay, which means no kiln is neededeasy, right? Using simple ceramic spoon techniques like rolling the clay flat and cutting shapes, you can shape spoons in various sizes.
Want unique spoon designs? Try pressing stamps or textures onto the clay before it dries.
Once dry, paint your spoons with acrylics or seal them with food safe finishes to keep them functional and safe for eating.
Think of these spoons as personalized gifts or cool kitchen decor. Whats better than holding a spoon you actually made yourself?
Its crafting with a tasty twistalmost like cooking but without the cleanup!
Painting With Acrylics on Canvas
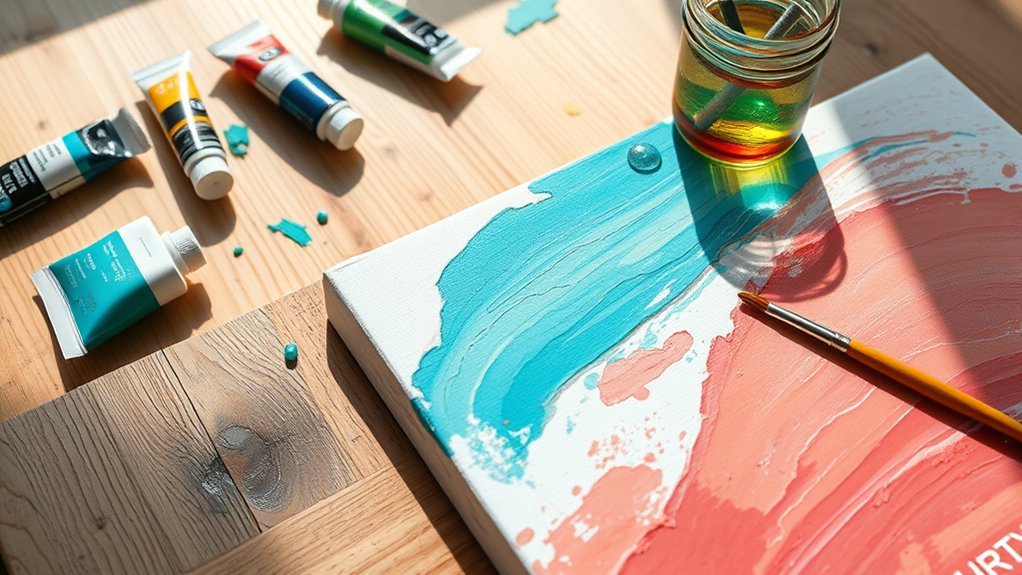
Although acrylic paints dry quickly, they give you plenty of time to layer colors and build up vibrant designs on canvas.
When you start painting, keep these tips in mind:
- Use acrylic layering techniques to add depth, like glazing or splattering, which makes your work pop.
- Choose your brushes wisely; round brushes help with detail, while flat ones cover big areas faster.
- Thin your paint with water or a medium for smoother blending; this is key to avoid thick, clumpy strokes.
- Experiment with different tools like sponges or palette knives to create interesting textures.
Doesn’t mixing brushes and thinning paint sound like a fun way to play? Grab your supplies and see how easy it’s to make something colorful today!
Making Beaded Friendship Bracelets
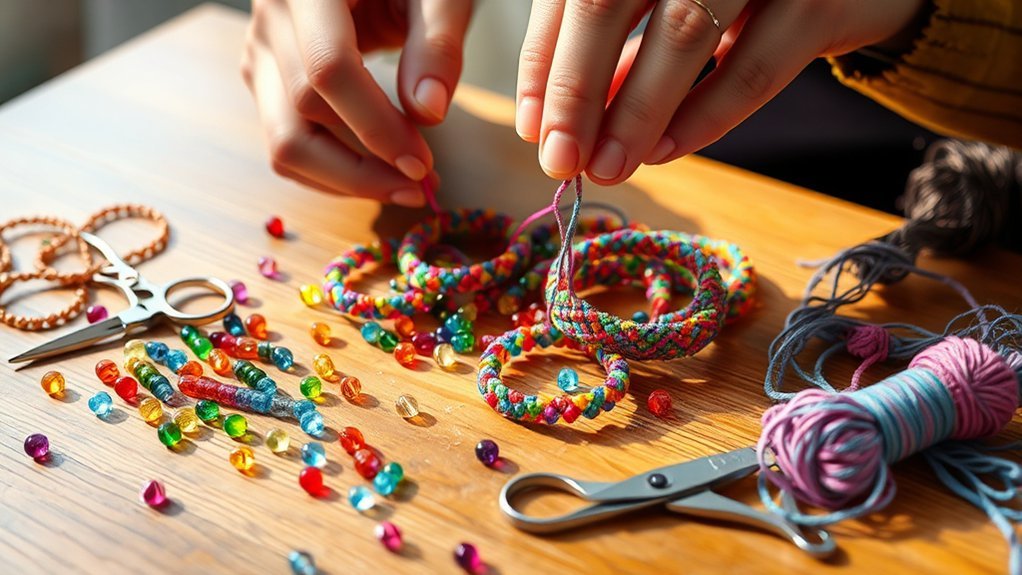
Making beaded friendship bracelets is a fun way to create something personal for your friends or family. First, gather beads in various colors and think about cool bead color combinations that suit the person’s style.
Create personalized friendship bracelets by choosing colorful beads that match your friends unique style.
Measure their wrist and cut your elastic string, leaving extra length to tie knots later. Arrange your beads in the chosen pattern before threading them onto the string.
When you’re done, try different bracelet knot techniques to secure the braceletmake sure it’s tight but comfy.
Want to add some flair? Use charm placement ideas like slipping small charms or spacers between beads to make it unique. It’s like customizing your own tiny treasure chest right on their wrist.
Ready to try? It’s easier than it sounds, and you’ll have a cool gift in no time!
Designing Custom Tote Bags

A plain canvas tote bag is a perfect blank canvas for your creativity, and customizing one is easier than you might think.
Tote bag customization lets you express your style with simple tools. Heres how to get started:
- Pick a plain tote and gather fabric paints, stencils, or iron-on transfers.
- Use fabric paint techniques to create unique designstry stencils or freehand for personal flair.
- Add texture with fabric patches, beads, or embroidery to make it stand out.
- Personalize it by painting a name or favorite quote, turning your tote into a fun accessory.
Remember to use fabric-friendly paint and follow drying instructions to keep your design fresh after washing.
Ready to turn a plain bag into your next cool project?
Creating String Art Wall Hangings
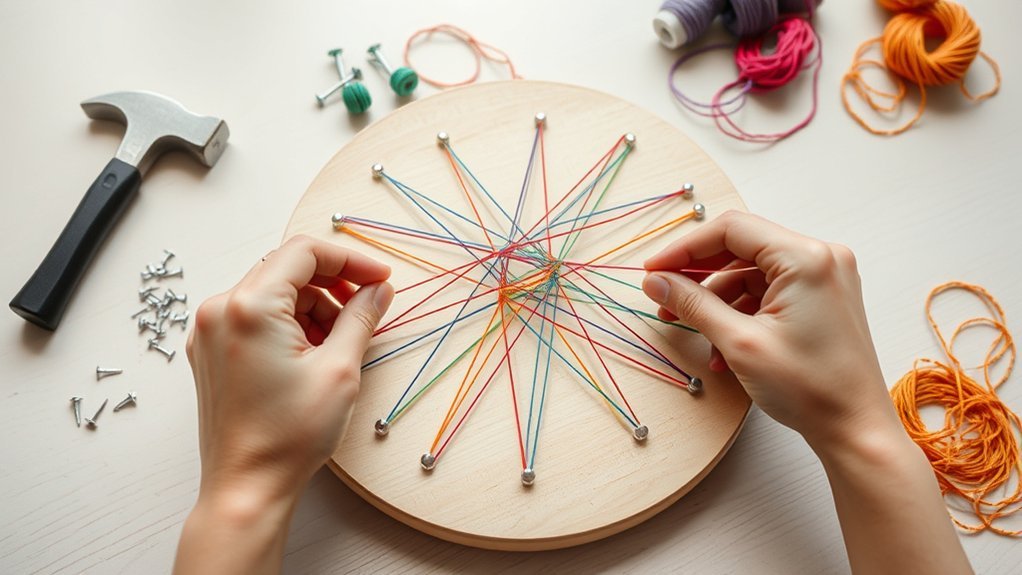
If youve got some nails, colorful string, and a wooden board lying around, youre halfway to creating a cool string art wall hanging.
Start by sketching your design or using a printed template for nail placement. Hammer nails evenly along the outline, like marking spots on a connect-the-dots game.
Then, tie your string to one nail and weave it around the others using different string art techniques to fill in your pattern. Play with color combinations to make your design popmix bright reds with cool blues or keep it simple with pastels.
Once finished, add a coat of varnish for durability.
Ready to turn your wall into a gallery? This projects a neat way to bring your design inspiration to life with just a few supplies.
Building a Miniature Fairy Garden
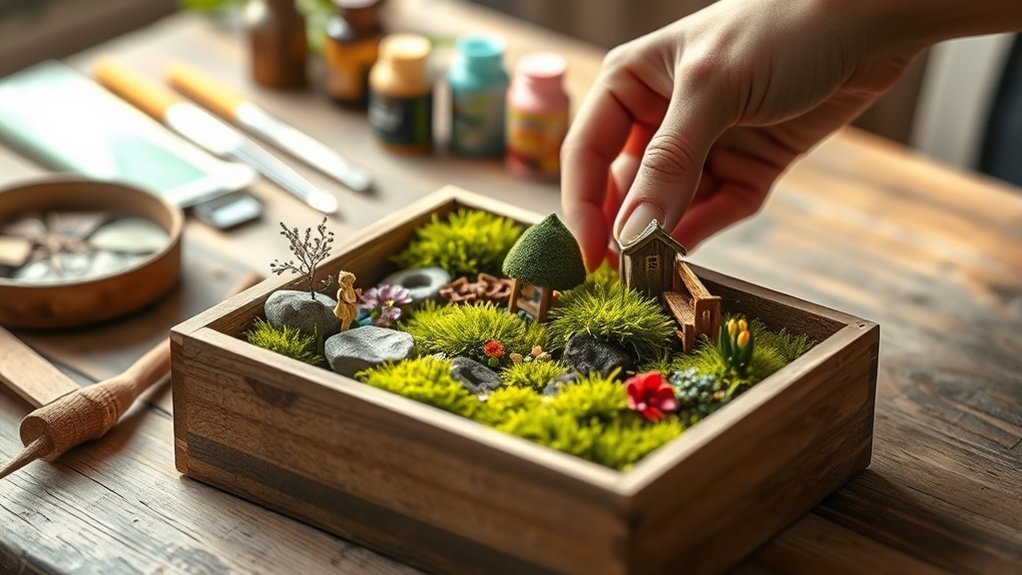
When you start building a miniature fairy garden, choose a shallow container or pot to hold everything together. Fill it with potting soil as your gardens base.
Next, pick your miniature plant selectionsucculents, moss, or herbs work great and stay small.
Then, add fairy garden accessories like tiny figurines and miniature furniture to spark some magic.
Dont forget whimsical garden pathways made from twigs, pinecones, or stones for a natural vibe.
Heres a quick checklist to get you going:
- Select a shallow container and add soil.
- Choose small plants that fit your space.
- Place fairy garden accessories carefully.
- Create whimsical garden pathways with natural bits.
Set your garden in indirect sunlight and water regularly.
Ready to make your own tiny enchanted spot?
Crafting Resin Coasters
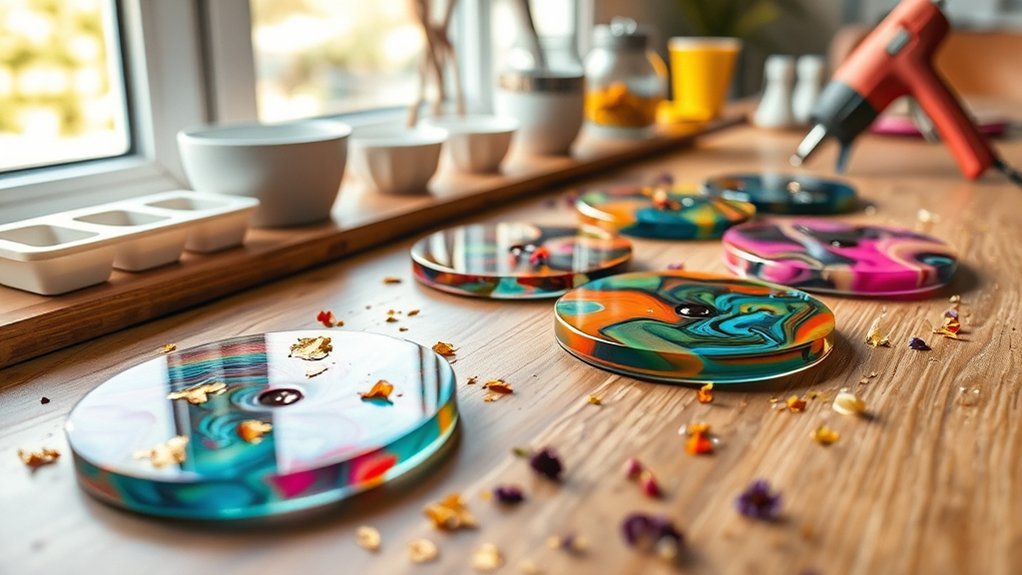
Mixing resin to craft coasters can feel like a mini science experiment, but it’s pretty straightforward once you get the hang of it.
Start by combining epoxy resin and hardener in equal parts, then choose your resin colorants optionsthink glitter, pigments, or even small keepsakes to make your coasters unique.
Pour the mix into silicone molds and let it sit for at least 24 hours during the curing process.
Wondering how to avoid sticky edges? Use these curing process tips: work in a dust-free space and avoid moving the molds.
After the resin hardens, try different coaster design techniques like layering colors or embedding objects.
Finish by sanding rough edges and adding a topcoat for extra shine.
Ready to add some functional art to your home?
Making Decorative Paper Lanterns
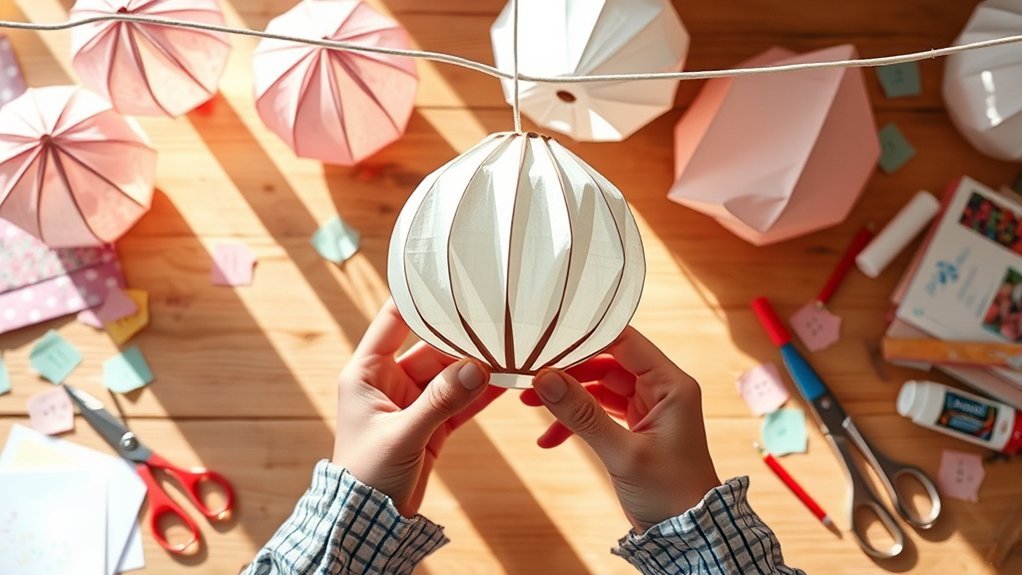
After crafting resin coasters, you might want to switch things up with a paper project thats just as fun but lighter on the chemicals.
Making decorative paper lanterns lets you explore lantern design techniques and paper cutting methods that really brighten your space.
Heres how to get started:
- Pick colorful paper or cardstock, then cut slits or shapes to let light peek through.
- Roll or fold your paper into the shape you want, securing it with glue or tape.
- Slide in LED lighting options like tea lights or fairy lights for a safe, magical glow.
- Add ribbons or stickers to personalize your lantern and match your vibe.
Ready to light up your room with your own artful glow? Its easier than you think!
Designing Personalized Bookmarks
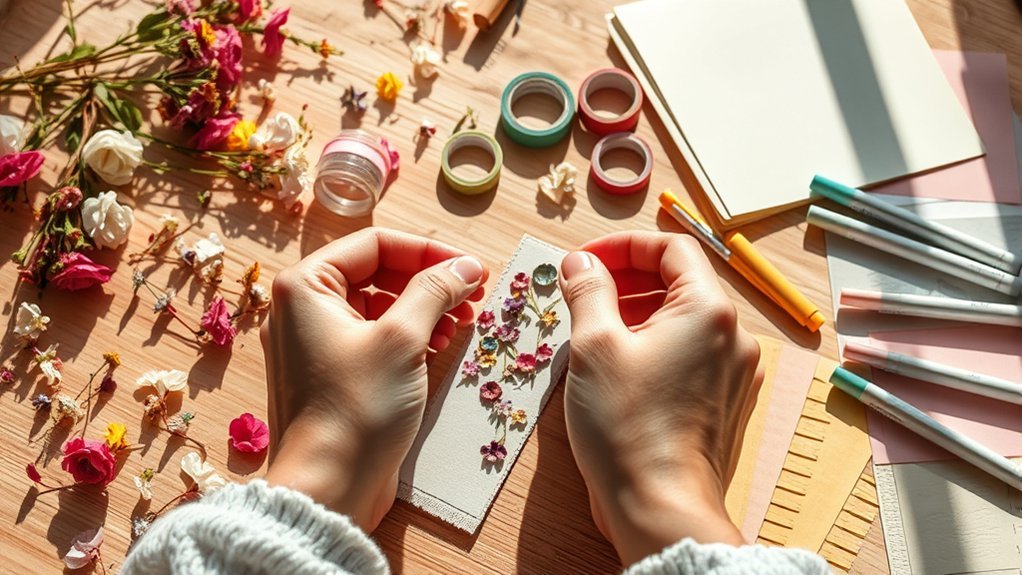
Bookmarks arent just handy, theyre also a great way to show off your style and interests. You can try different bookmark design techniques like cutting cardstock into shapes, adding washi tape, or layering decorative paper. Want to keep it simple? Just laminate your design to make it last. Need inspiration for quotes? Pick lines from your favorite books or funny sayings. For decorative embellishment ideas, tassels and ribbons work greattheyre easy to spot in your book and add flair.
| Technique | Idea |
|---|---|
| Quote Inspiration | Favorite book lines |
| Decoration | Washi tape, stickers |
| Embellishment | Tassels, ribbons |
Ready to make a bookmark? Its fun, useful, and perfect for all ages!
Assembling a Photo Collage Board
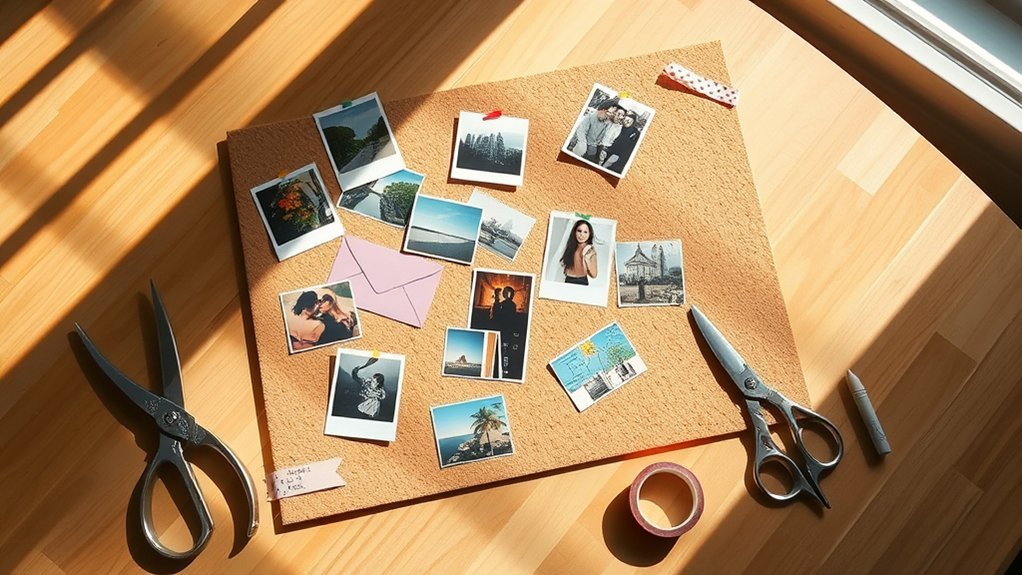
Gathering a bunch of photos, magazine clippings, or art pieces that mean something to you is the first step to making a cool photo collage board.
Grab a large cardboard or corkboard as your base, so you can easily arrange and pin everything.
Try these steps to get started:
- Choose a collage theme idea, like travel memories or favorite quotes.
- Lay out your photos using different photo arrangement techniques, such as grids or overlapping.
- Add decorative element suggestions like washi tape, stickers, or handwritten notes.
- Once you like the layout, glue or pin everything down.
Display your board somewhere you see often; it’s like a mini gallery of your life.
Ready to get creative?
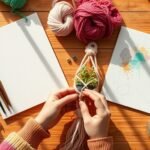
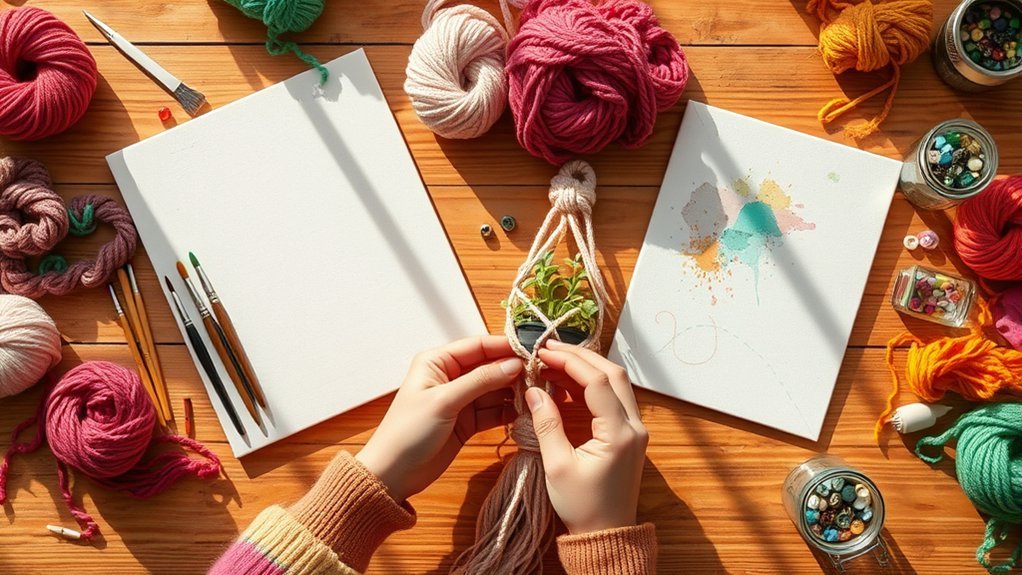
Creating Macramé Plant Hangers
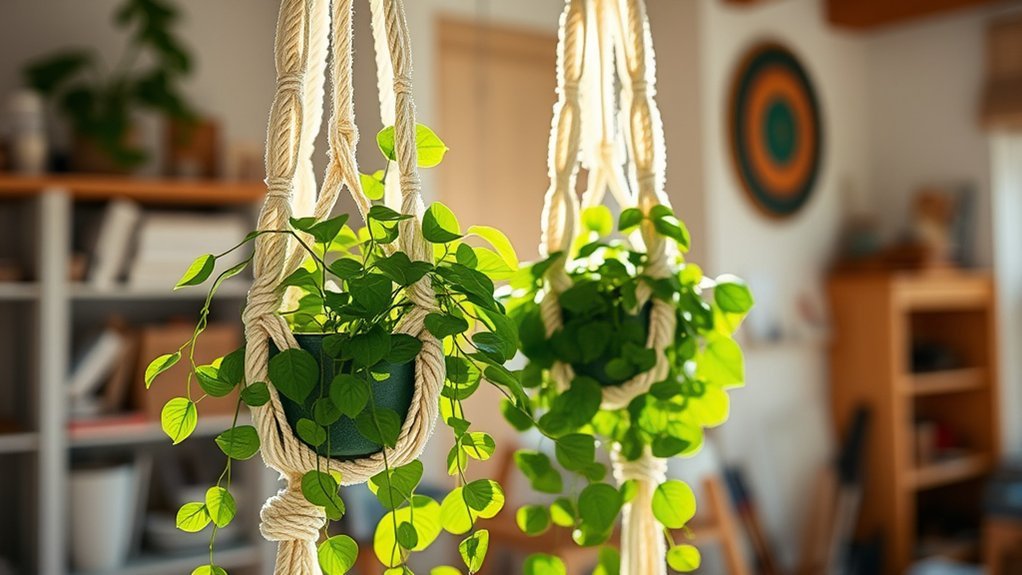
Making a macramé plant hanger usually starts with just a few simple supplies, like cotton cord or jute rope, scissors, and a wooden or metal ring.
Youll want to pick your cord material choices based on the look and strength you needcotton feels soft, while jute brings a rustic vibe.
Next, cut cords about 3 to 5 feet long, depending on how low you want your plant to hang.
Learning basic macramé knot techniques, such as the square knot, larks head knot, and spiral knot, helps you create different plant hanger styles.
Think of it like tying friendship bracelets, but way cooler and useful.
Once you master these knots, you can customize your hanger to fit any pot size and add a neat decorative touch to your space.
Ready to knot?
Crafting Hand-Painted Wooden Signs
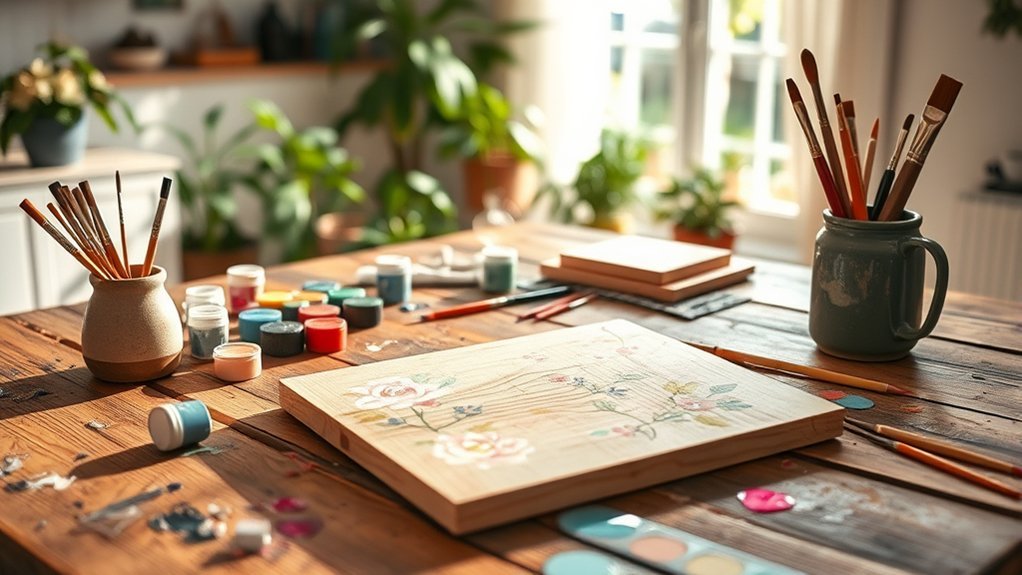
While you might think painting signs is tricky, it’s actually pretty straightforward once you get the hang of it. Start with wood sign personalization by picking the right size and sanding it smooth.
Next, use acrylic paints for bright colors, and try different painting techniques like stenciling or freehand to make your design pop. Don’t forget to protect your work; applying a protective sealant keeps your sign looking fresh for longer.
Here’s a quick guide:
- Choose and prep your wood.
- Plan your designquote, symbol, or pattern.
- Paint using your favorite techniques.
- Seal your sign for durability.
Ready to add a unique touch to your space? It’s easier than it sounds!
Making Fabric Scrap Bunting
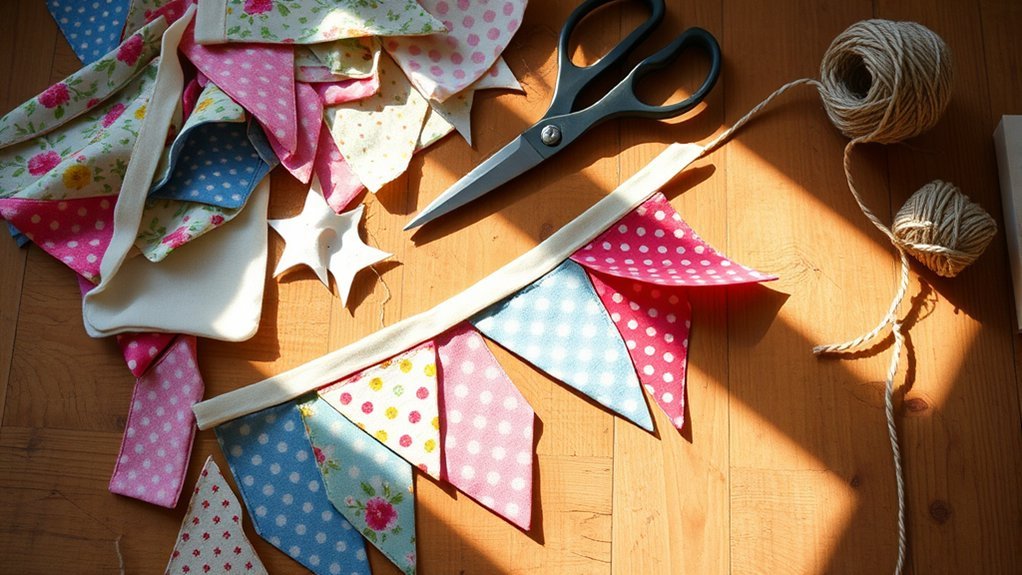
Start by picking out fabric scraps in different colors and patterns that catch your eye. Mixing fabric color combinations like bright florals with muted solids can really make your bunting pop.
Cut your scraps into triangles of the same size – think of them like little flags. Use basic sewing techniques tips, like straight stitches or fabric glue, to attach each piece evenly along a ribbon or string.
Dont crowd them; spacing matters for a balanced look. Wondering where to hang it? Try bunting display ideas like draping it over a window, mantel, or even across a bookshelf.
Layering different textures adds charm, kind of like mixing crunchy and smooth snacks. Making fabric scrap bunting is a simple way to turn leftover bits into something festive and eye-catching.
Ready to give it a go?
Designing Stenciled Throw Pillows
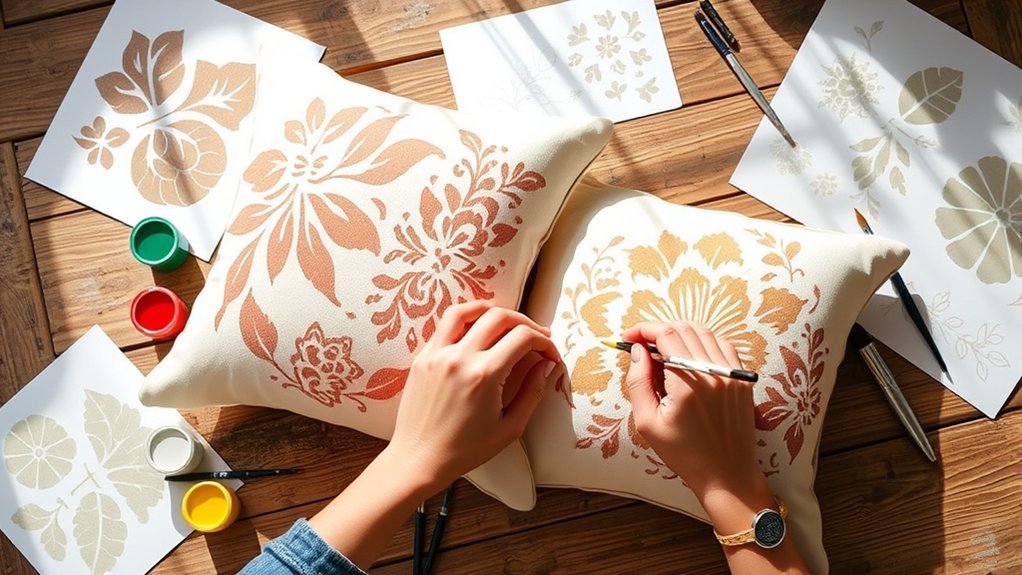
You can easily upgrade your plain throw pillows by designing stenciled patterns on them, using fabric paint and simple stencils made from cardstock or plastic.
Want to try pillow painting techniques that really pop? Heres how:
- Pick a plain pillow cover and choose fabric color combinations that suit your room.
- Use stencil design ideas like geometric shapes or fun icons, then tape the stencil firmly to avoid paint bleed.
- Apply fabric paint with a sponge or brush, layering colors for depth and cool effects.
- Let it dry completely before tossing the pillow back on your couch.
Think of it like decorating a cake, but without the calories.
Like frosting a cake, but your pillows get the style boost, not the sugar rush.
Ready to turn your pillows into art? Its easier than you think!
Creating Origami Animal Figures
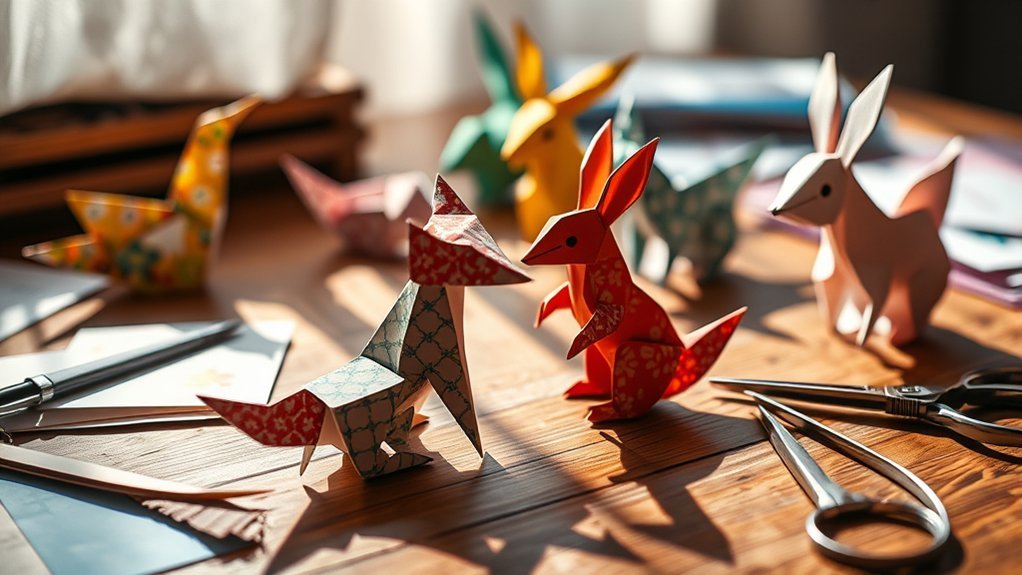
If you enjoyed adding a personal touch to your pillows, making origami animal figures offers another fun way to get creative at home. Origami techniques use square sheets of paper, so grab some lightweight paper to start.
Ever tried folding a crane or a frog? These beginner-friendly animal folding projects teach you basic steps through easy tutorials online. Think of it like following a recipe, but for paper crafts.
Origami helps improve your focus and patience since each fold needs care and precision. Want a challenge? You can try advanced designs that use multiple sheets or intricate folds, letting you personalize your animals.
Ready to turn a plain paper into a rabbit or a bird? Origami animal figures are a neat way to pass time with your hands and mind working together.
Making Handmade Scented Candles
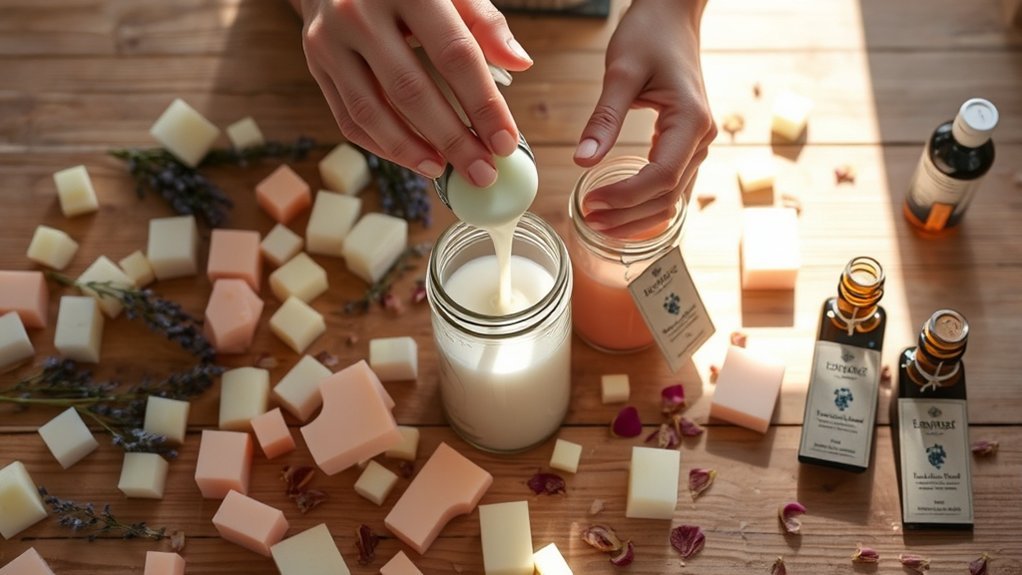
While making your own scented candles might sound tricky, it’s actually pretty straightforward once you gather the basic supplies like wax, wicks, and fragrance oils.
You’ll want to try different candle scent combinations to find what you like bestlavender and vanilla, or maybe cinnamon and orange?
Here’s a quick guide to get you started:
- Melt your wax safely using a double boiler until it hits 170-180°F.
- Apply wick placement techniques by securing the wick right in the center of your container.
- Add fragrance oilsabout 1 ounce per pound of waxfor great scent throw.
- Explore decorative candle options like embedding dried flowers or using colorants.
Ready to light up your creativity?
Crafting Painted Rock Garden Markers

Moving from the cozy glow of homemade candles, lets switch to something that adds a bit of charm outdoors: painted rock garden markers.
Start by gathering smooth, clean rocks and think about your garden marker ideas. Sketch the names or symbols of your plants on paper first, then use rock painting techniques with acrylic paint or paint pens to bring them to life.
Want to get fancy? Add stripes or polka dots for a fun touch. Once your artwork is dry, dont forget sealant applicationsthey protect your rocks from rain and sun, keeping your designs bright all season.
Placing these markers around your garden or pots makes identifying plants easier and adds a bit of personality to your outdoor space.
Ready to paint your gardens new best friends?
Designing Customized Phone Cases
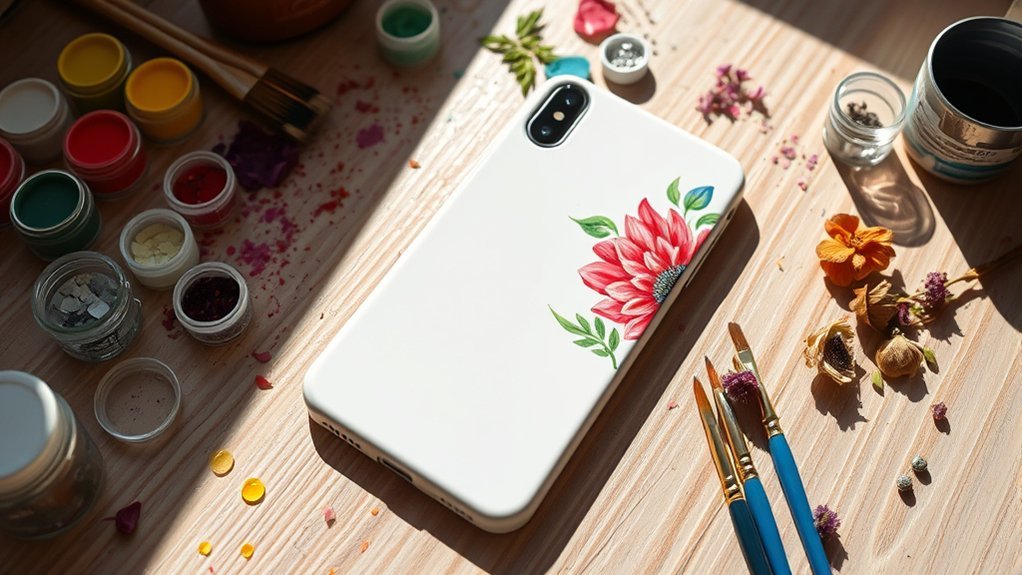
You can create a cool, customized phone case using just a clear case, some washi tape, stickers, or paint.
Designing your own custom phone designs is easier than you think, and you get to explore aesthetic themes that fit your style.
Crafting custom phone designs is simple and lets you express your unique style effortlessly.
Heres a simple plan to get started:
- Pick a clear case and decide on protective materials selection to keep your phone safe.
- Choose washi tape, stickers, or paint that match your favorite colors or patterns.
- Try adding texture with fabric or pressed flowers for a unique look.
- Follow a quick online tutorial to learn decoupage or glitter techniques.
Why settle for boring cases when you can show off your creativity and keep your phone safe?
Ready to try?
Making DIY Bath Bombs
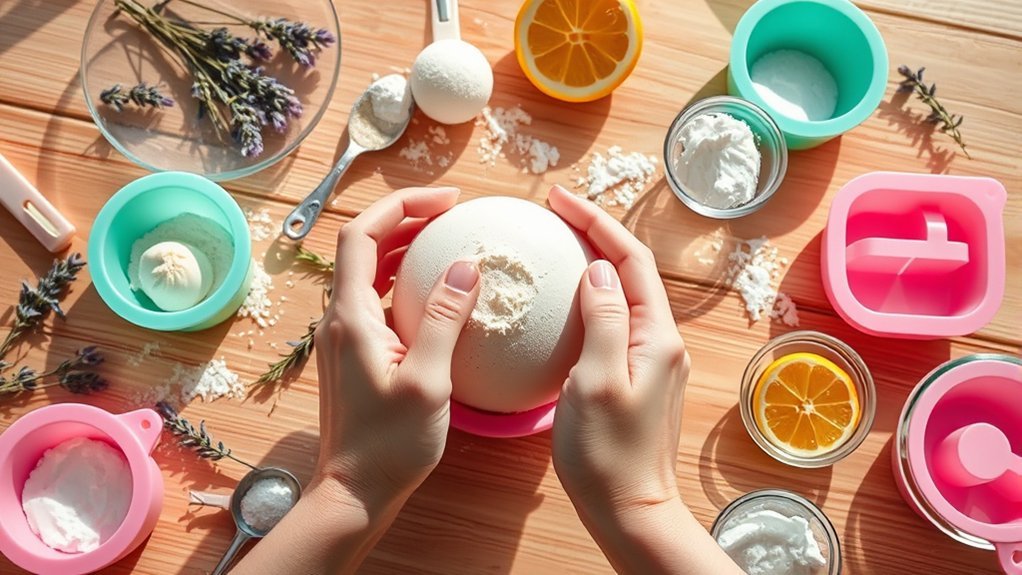
After youve personalized your phone case, why not try making something thats both fun and useful for your downtime?
Making DIY bath bombs is easier than you think. Start with basic bath bomb ingredients like baking soda, citric acid, and Epsom salts. Mix these with essential oil blends for a relaxing scent.
Want to spice things up? Add custom bath colors to brighten your bath, and toss in dried flowers or glitter for extra flair. Use molds to shape your bath bombs, packing them tightly so they hold together.
Mist the mixture lightly with water using a spray bottletoo much water will ruin the fizz. Let them dry for at least 24 hours before using.
Ready to turn your bath time into a mini spa?
Creating Embroidered Hoop Art
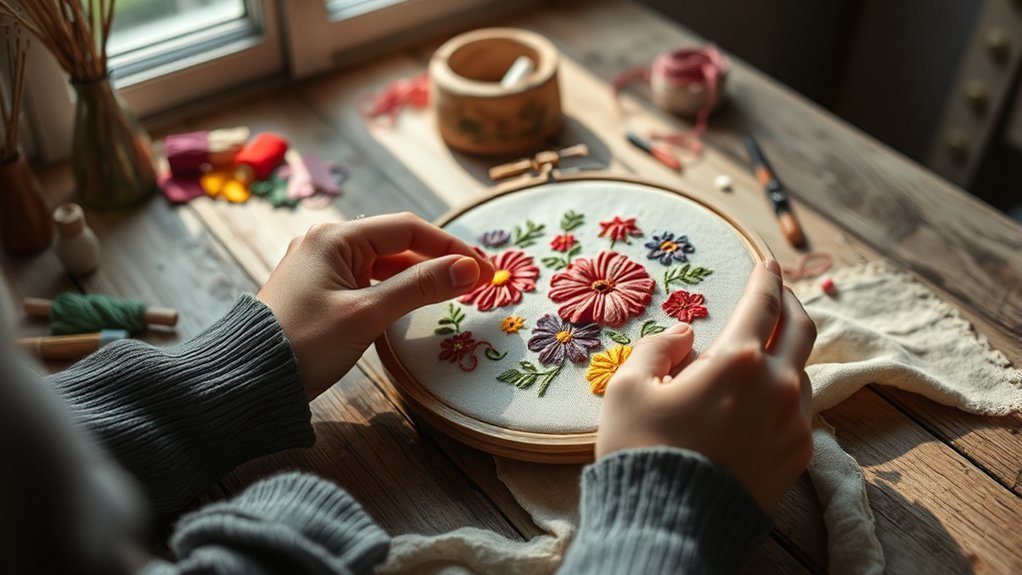
Embroidery hoops make great frames for simple, creative projects you can do at home. To start creating embroidered hoop art, gather your materials like fabric, embroidery floss, and needles.
Embroidery hoops are perfect for easy, creative projects you can enjoy making right at home.
Dont worry about fancy designs; simple patterns like flowers or shapes work best when you’re learning embroidery techniques. Try out different stitches such as backstitch or French knots to add texture. Also, explore various fabric choices and color combinations to make your piece pop.
Heres a quick guide:
- Pick your fabric and hoop sizecotton works well.
- Choose a simple design to practice stitching.
- Try a few embroidery techniques for texture.
- Trim excess fabric and hang your art or gift it.
Ready to stitch your boredom away?
Crafting Mosaic Picture Frames
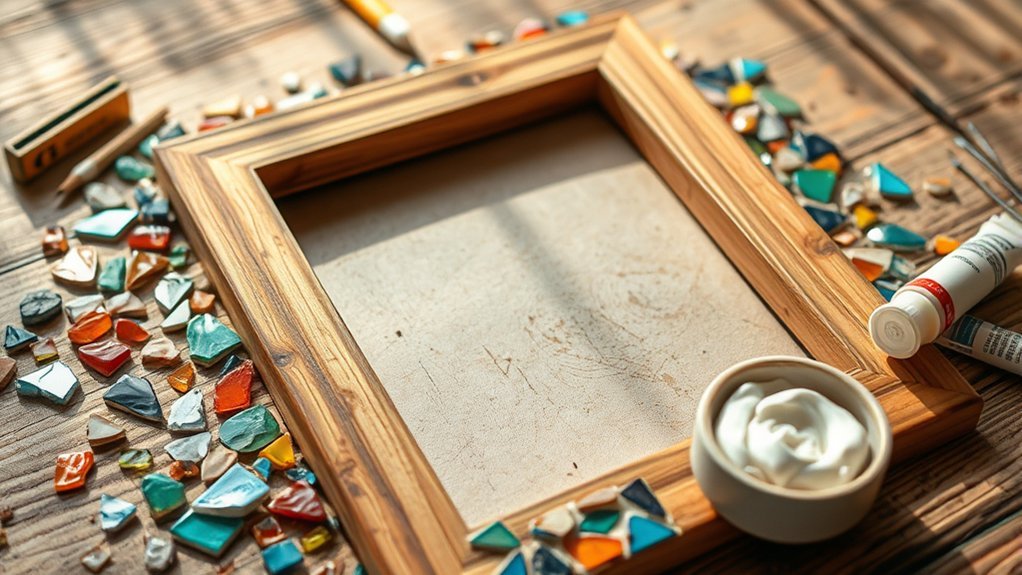
Although it might sound tricky at first, crafting mosaic picture frames is a fun way to reuse old materials and add color to your space.
Start by picking an old frame and gather colorful mosaic tiles or broken ceramics. Think about mosaic color schemes that match your room or mood. Use strong adhesive techniques to stick the pieces, making sure to leave small gaps if you want to add grout later.
Frame embellishments like different tile shapes can make your design pop. After the glue dries, apply grout to fill gaps and wipe off the extra with a damp sponge. Let it dry completely before placing your favorite photo inside.
Its like giving your frame a new lifekind of like turning a plain cookie into a colorful, tasty treat! Ready to try?
Designing Handcrafted Greeting Cards
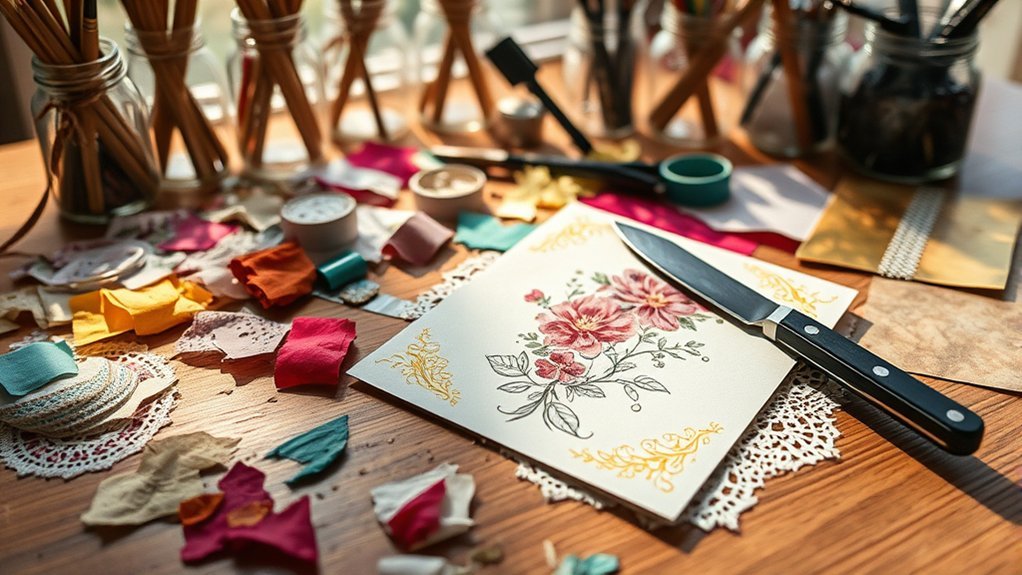
When you want to add a personal touch to your messages, designing handcrafted greeting cards lets you get creative with simple materials like cardstock, stamps, and markers.
Start by mastering cardstock selection tips; thicker paper works best for durability and a professional look. Next, try different embellishment techniques like layering papers, using washi tape, or adding dried flowers to make your card pop.
Choose sturdy cardstock and enhance your card with layers, washi tape, or dried flowers for a standout design.
Dont forget personalized message ideashand lettering or stamps can make your note stand out. Heres a quick guide to get you started:
- Pick cardstock that feels sturdy but easy to fold.
- Experiment with folding styles to add interest.
- Use mixed media to give texture and depth.
- Craft messages that fit the occasion and personality.
Ready to give it a shot? Its like sending a hug through paper!
Frequently Asked Questions
What to Do When You Are Bored at Home Aesthetic?
When you’re bored at home, you can refresh your aesthetic room by adding minimalist decor touches. Grab your journal and immerse yourself in creative journaling to express your thoughts, making your space and mind feel inspired and calm.
What Can I Make at Home When I’m Bored?
When you’re bored, grab craft supplies and create unique home decor pieces inspired by your aesthetic inspiration. You can melt crayons, decorate bottles, or sew fabric, turning simple materials into vibrant, personalized art that brightens your space.
What Are the Best Things to Do When You Are Bored at Home?
Did you know 72% of people feel happier when engaging in creative hobbies? You can boost your mood by trying relaxing activities or tackling home organization, turning boredom into productivity and calm in your personal space.
How to Make Cute Aesthetic Things?
You can create aesthetic wall art by melting crayons on canvas, paint cute plant pots with vibrant patterns, and craft DIY photo frames using cardboard and fabric. These projects make your space uniquely charming and personalized.
Conclusion
Now that youve seen these 48 cool DIY projects, which one will you try first? Imagine turning old glass bottles into colorful centerpieces, like Sarah did last summershe brightened her living room and saved money too. Whether youre making slime stress balls or crafting greeting cards, these projects keep boredom away and creativity flowing. So, grab some supplies, pick a project, and start creating something neat today. Ready to get your hands busy?