
Hey, you can build your own DIY home entertainment center in 5 easy steps! First, plan your design by measuring your TV and sketching the layout. Next, gather tools like a drill and materials like plywood. Then, prep your space by finding wall studs for secure mounting. Assemble the main structure, connecting cabinets tightly. Finally, add shelves or cool lighting for style. Curious about more tips? Stick around to explore further!
Key Takeaways
- Start by sketching a layout that fits your room dimensions and TV width.
- Gather materials like plywood, screws, and tools for building.
- Prepare the space by measuring, dry fitting cabinets, and locating wall studs.
- Assemble base cabinets, secure them to studs, and add a plywood top.
- Finish with custom shelves, cable management, and personal decor touches.
Planning Your Entertainment Center Design
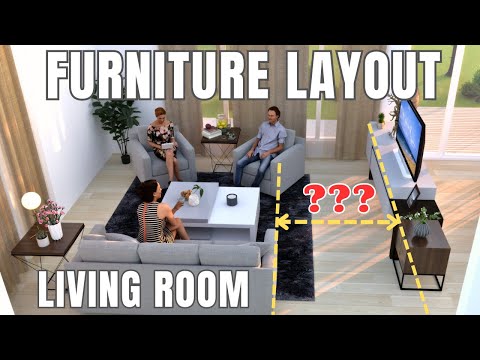
Hey there, let? s plunge into planning your entertainment center design with a clear head. First, grab a tape measure, and check the width of your TV, then add extra space for storage. This helps you figure out the size of your base cabinets.
Think about a modular setup, maybe with floating shelves, so you can adjust heights for gadgets or decor. Got a vision? Sketch it out, placing those shelves and cabinets just right to fit your room.
Make sure to measure the area, leaving space for air around electronics. How do you see it looking? Keep it simple with a design that matches your style, and visualize the layout like planning a puzzle. It? s all coming together! Consider incorporating cozy elements for a perfect entertainment nook to enhance relaxation and enjoyment. Also, explore options for budget-friendly setups to keep costs low while achieving a great look.
Gathering Materials and Tools
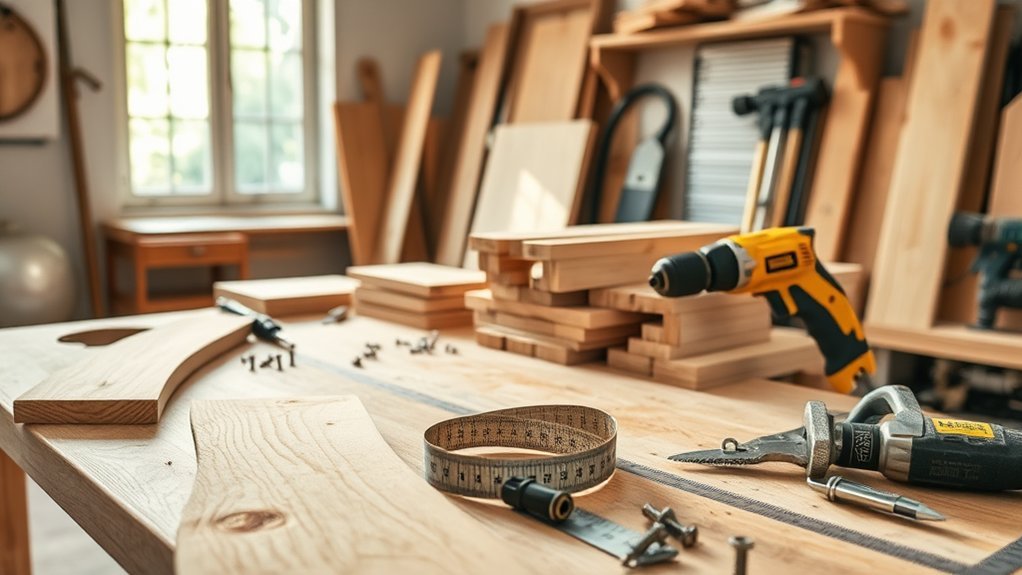
Let’s dive right into gathering materials and tools for your DIY entertainment center.
First, you? ve gotta grab the basics for this DIY project, like 3/4-inch plywood, wood screws, and cabinet hardware. Don? t forget adhesive fillers for a smooth finish on your Media Console.
Got a circular saw or power drill? If not, get those tools ready, along with a Kreg Jig for pocket holes and a level for accuracy.
Consider prefinished RTA cabinets for an easy setup, or go with unfinished ones to customize. Also, pick up drawer slides, edge banding, and trim pieces for that polished look.
Got a cut list? Make one now to make certain you? re set. You can also check out budget-friendly home products to source affordable materials for your project.
What? s the toughest material to find for you? Let? s figure it out!
For budget-conscious families, exploring affordable renovation ideas can help keep costs down while building your entertainment center.
Preparing the Installation Space
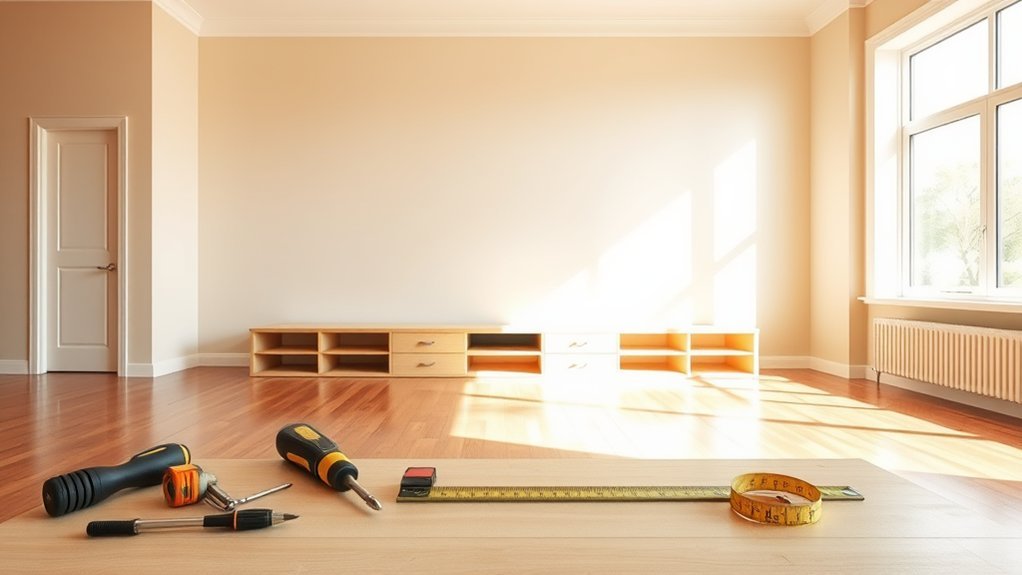
Now that you? ve got your materials and tools sorted, it? s time to prep the space for your DIY entertainment center. Start by preparing the area, measuring your TV? s width, and adding extra room for storage. Dry fit the cabinets in your spot to see the layout, tweaking as needed before installation.
Next, grab a stud finder to locate wall studs, marking them for secure mounting. Remove old baseboard molding if it? s in the way, and patch up wall flaws. While you assemble ready-to-assemble cabinets per instructions, make sure they match your plan. Wondering how to keep it steady? Check this table for quick tips!
| Task | Why It Matters |
|---|---|
| Measure TV width | Guarantees proper fit for your setup. |
| Dry fit cabinets | Visualizes space before final steps. |
| Find wall studs | Keeps everything secure and stable. |
| Patch walls | Gives a clean look for installation. |
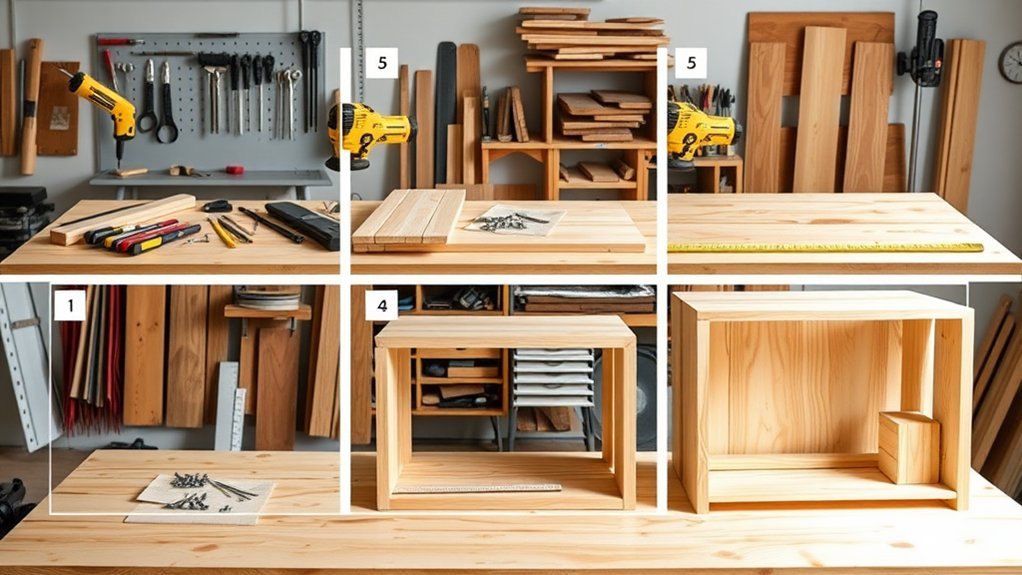
Assembling the Main Structure
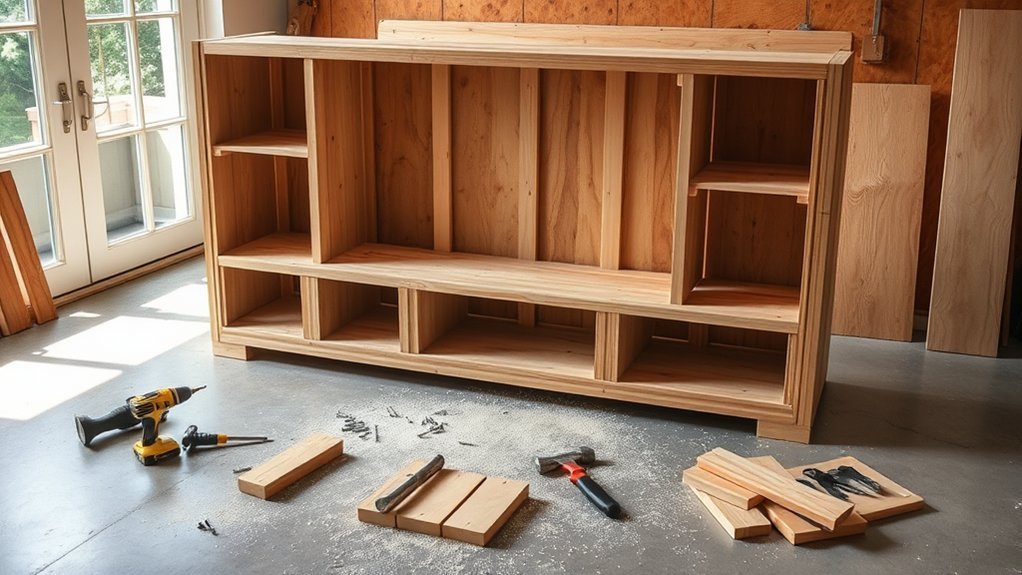
Start assembling your DIY entertainment center by focusing on the base cabinets first.
You? ve gotta align and clamp them, making sure they? re level, then drill pilot holes and screw them together for a stable setup. This assembling step is essential to a strong foundation.
Next, cut holes in the back for cables and outlets to keep things tidy. Secure the base to wall studs with strips or rails for solid support, and don? t skip this? it? s vital!
Measure the base to size a plywood top, then attach it with screws and braces to secure the structure.
Here? s how to make assembling fun:
- Imagine building a giant puzzle!
- Got your drill ready?
- Keep it stable, right?
- Support matters? double-check it!
- Secure every piece, okay?
Adding Custom Features and Finishing Touches
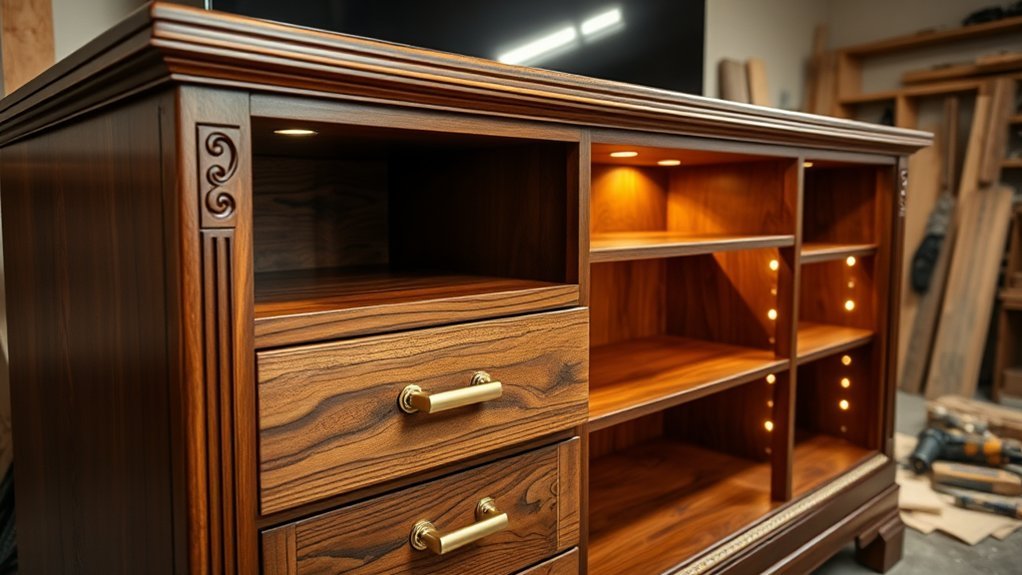
After getting that main structure solid, it? s time to jazz up your entertainment center with some cool custom features.
Start by adding floating shelves above it for extra display space, making sure they? re securely attached to wall studs.
Then, focus on custom cabinetry? pick finishes or handles that match your style, like bold colors or funky designs.
Don? t forget cable management; hide those messy cords with a simple system to keep things neat.
Finally, install integrated lighting or backlighting to give your setup a nice glow, perfect for movie nights.
Got a favorite decor piece to show off on those shelves?
How do you want your center to look? modern or cozy?
Make it yours with these touches!
Frequently Asked Questions
How Much Does It Cost to Build a Built-In Entertainment Center?
Hey, wondering about the cost estimation for a built-in entertainment center? You’re looking at $800 to $1,000+ based on material selection and furniture design. Don’t forget budget planning for tools and custom features!
How Deep Should a Built-In Entertainment Center Be?
Hey, when planning your entertainment center depth, aim for 18-24 inches to fit most gear. Consider built-in design considerations, use shelving installation tips, and don? t forget cable management solutions for a tidy setup!
How to Make a TV Stand Step by Step?
Hey, wanna build a TV stand? Start by picking DIY materials that match your personal style. Focus on space considerations for a functional TV stand design, ensuring it fits perfectly in your room.
Can You Use Kitchen Cabinets for an Entertainment Center?
Imagine transforming your space like a magician! You can repurpose kitchen cabinet types into a stunning entertainment unit design. With DIY cabinet modifications and storage solutions tips, you’re crafting a masterpiece of functionality!
Conclusion
Hey, you? ve made it to the end of your DIY entertainment center journey! Build with care, measure with precision, and finish with pride. Got all the tools ready? Double-check your setup, and don? t skip those final touches. Think of this project like assembling a giant puzzle? every piece matters. So, are you ready to show off your creation? Get it done, pop in a movie, and enjoy your awesome new space!